The Proper SFF Gentleman: Lian Li x DAN A4-H20 PC Build
For this project, I chose the Lian Li Dan A4-H2O case—a sleek and space-efficient case optimized for liquid cooling and modern hardware.
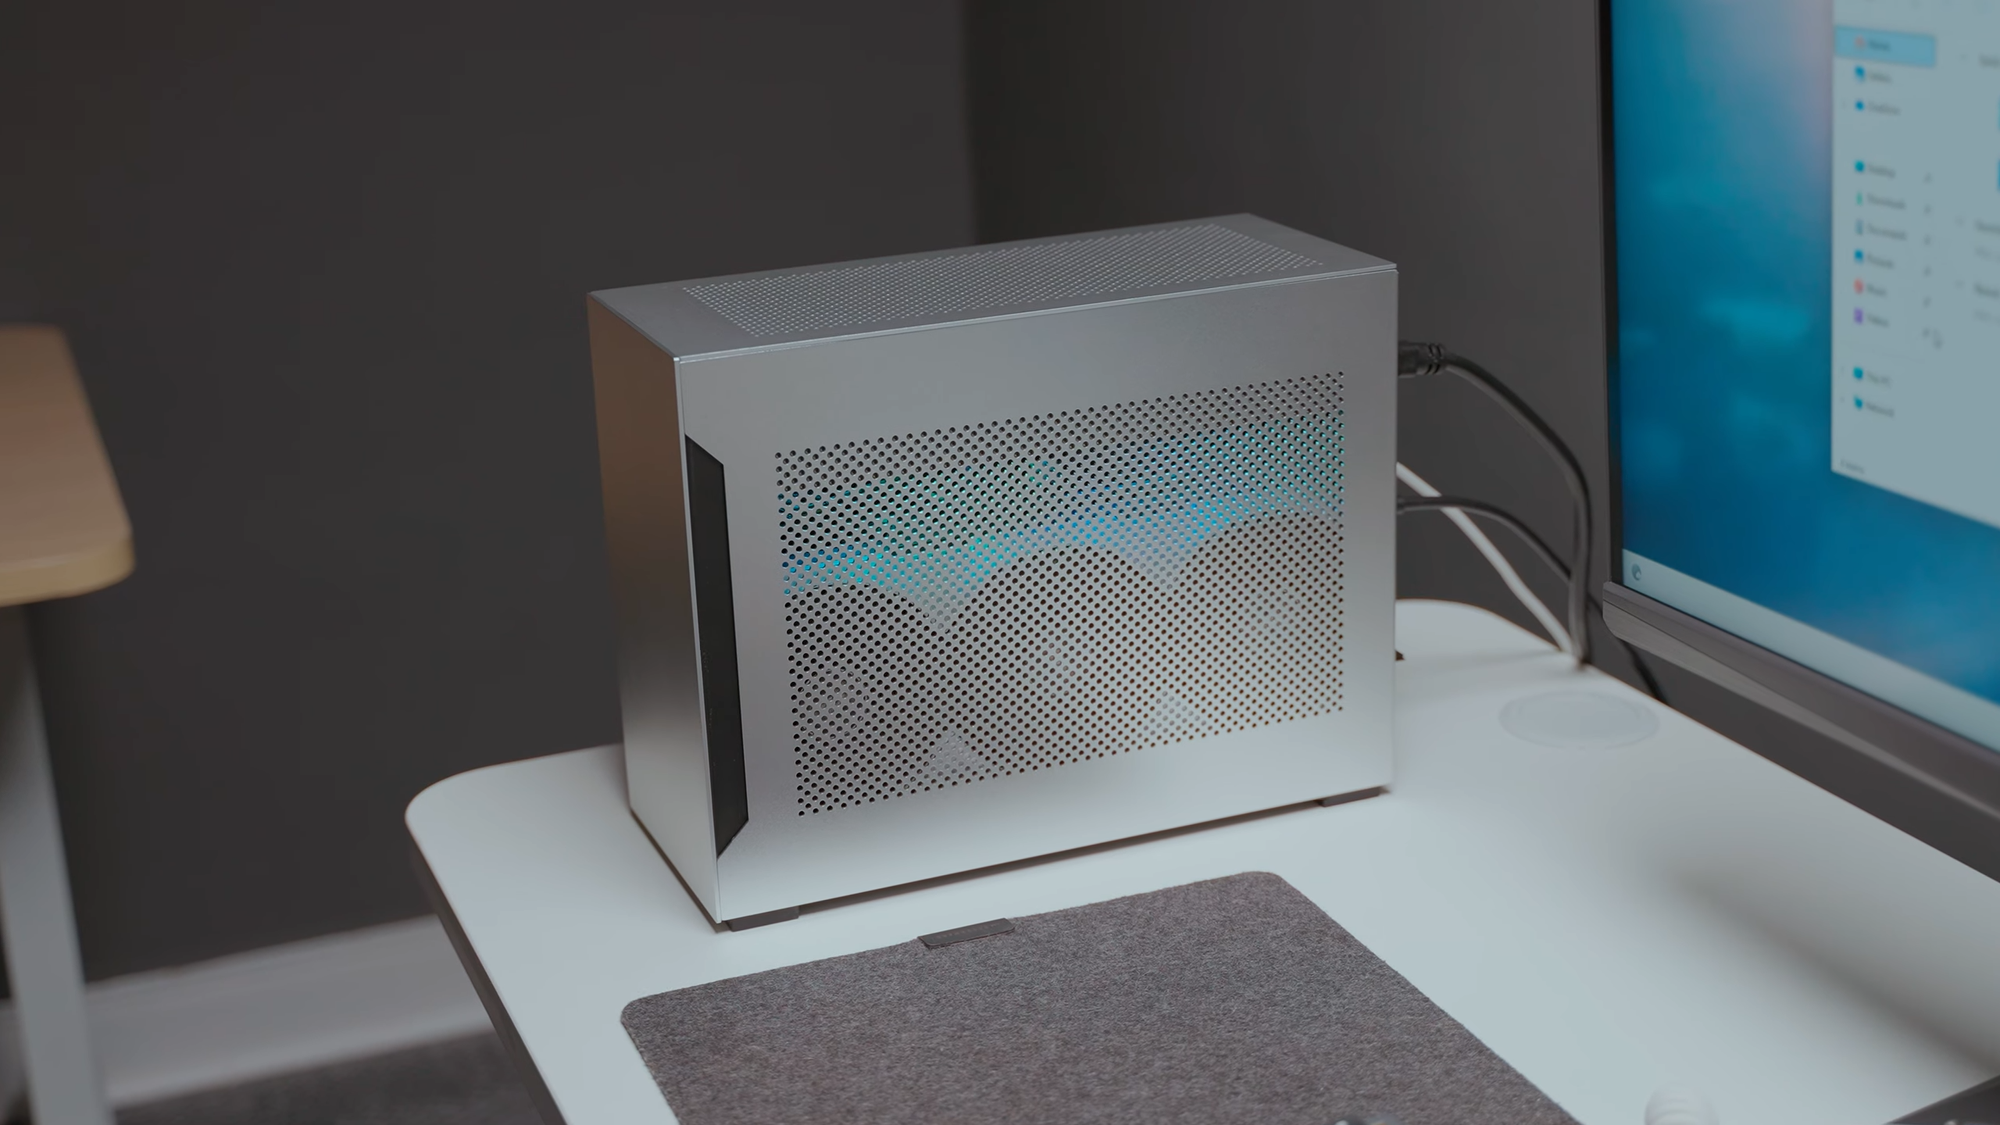
Building an SFF PC is always a welcome challenge to me - a journey of discovering just how powerful a compact build can be. I've been wanting to put together an SFF build that is optimized for productivity and heavy creative work like video editing, 3D rendering, product design, and even music production while being water cooled.
For this project, I chose the Lian Li Dan A4-H2O case—a sleek and space-efficient case optimized for liquid cooling and modern hardware. Despite its small size, it supports high-performance components, making it perfect for both productivity and gaming at 4K.
Now, let’s get into the components that make this build a powerhouse.
Lian Li x DAN A4-H20 PC Build Video
PS: Some links below are affiliate links, for which I receive a small commission at no extra cost to you. When you purchase through the links, you support my content. Thank you.
Components of the Dan AH4 H20 PC
Case: Lian Li Dan A4-H2O (Silver)
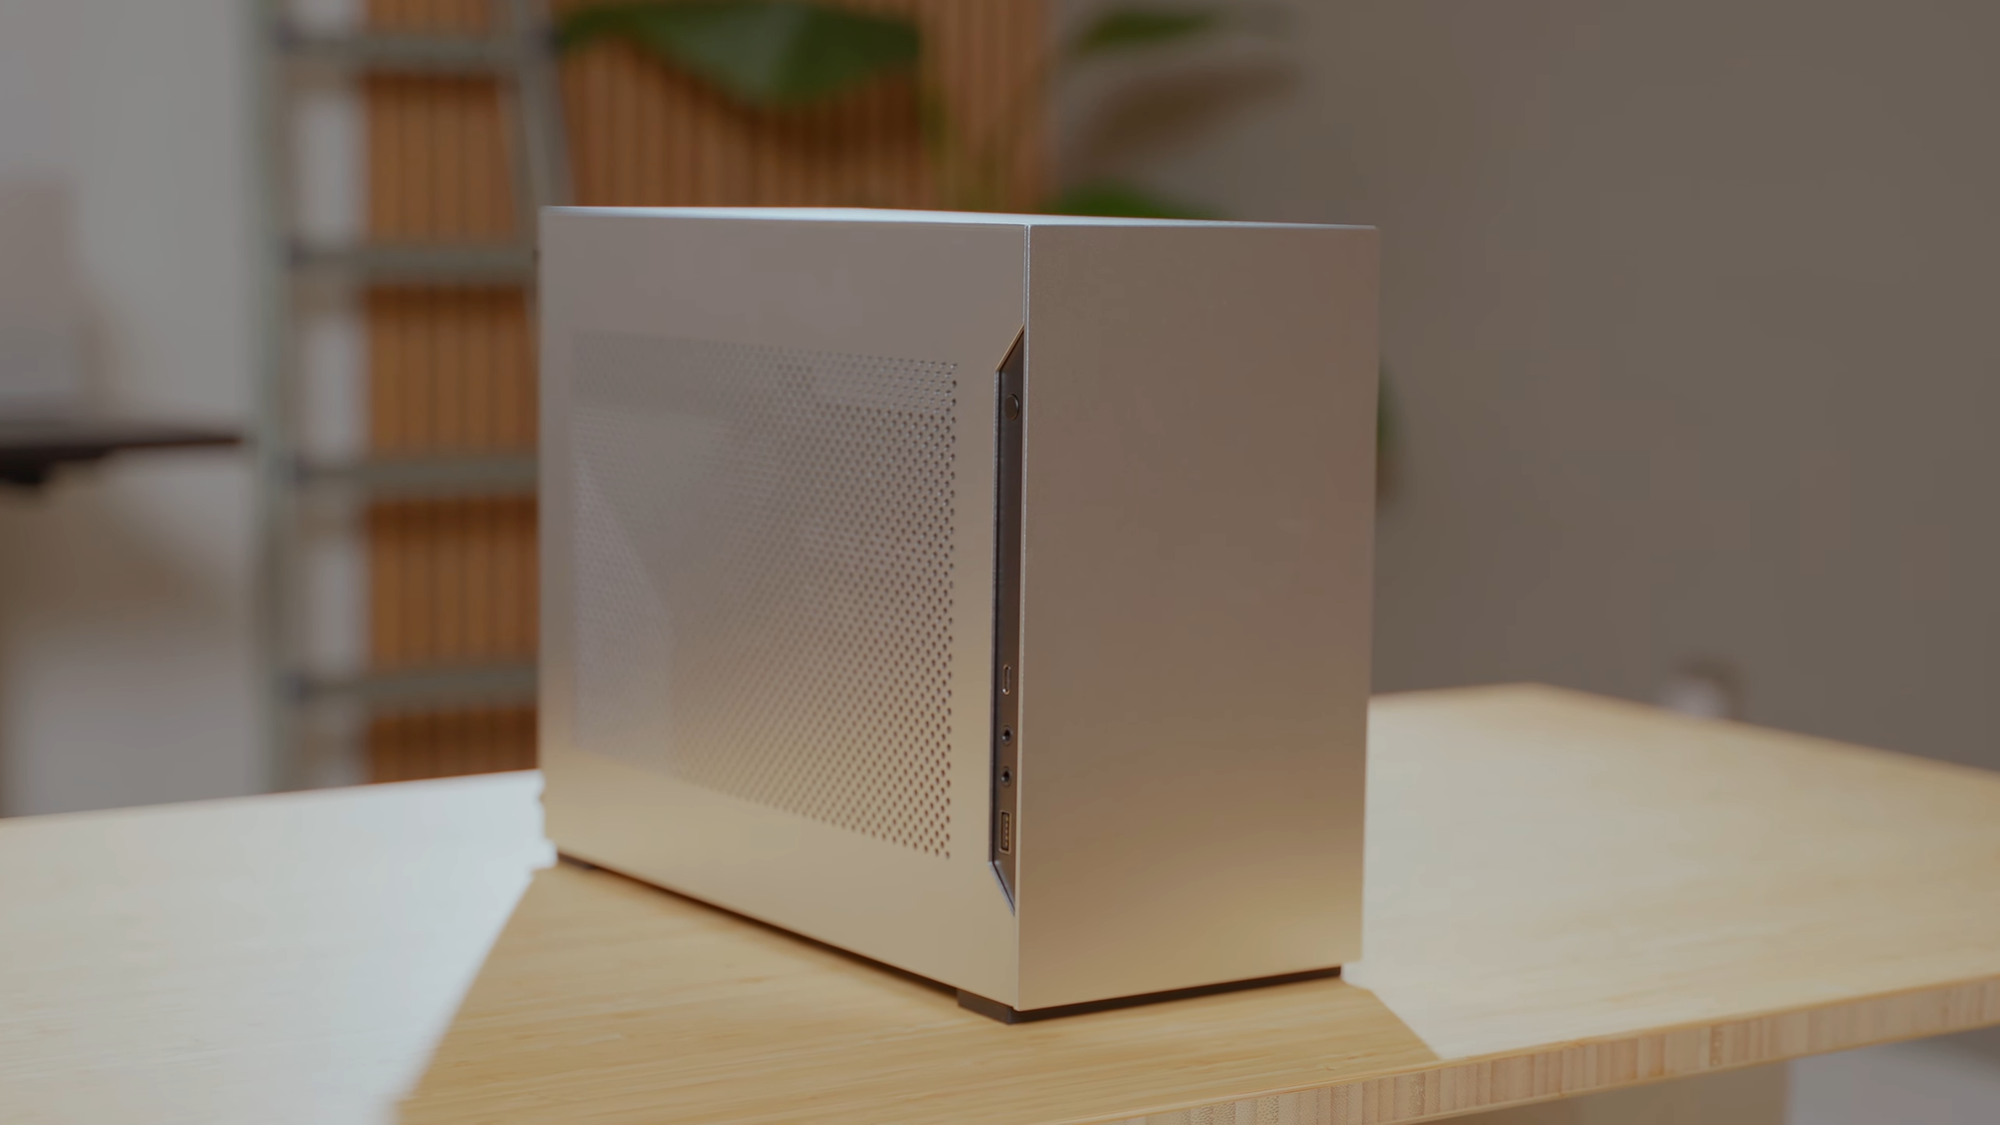
The Dan A4-H2O is a clean 11L SFF case that features a true sandwich layout. It's dimensions are 244mm x 140mm x 326mm, pretty compact.
The sandwich layout design allows the GPU to sit on one side while the motherboard and PSU reside on the other, with a 240mm AIO liquid cooler mounted at the top (the case is specifically designed for liquid cooling). The vented panels ensure good airflow, and the case supports a three-slot GPU up to 322mm in length, so high-performance GPUs can be used.
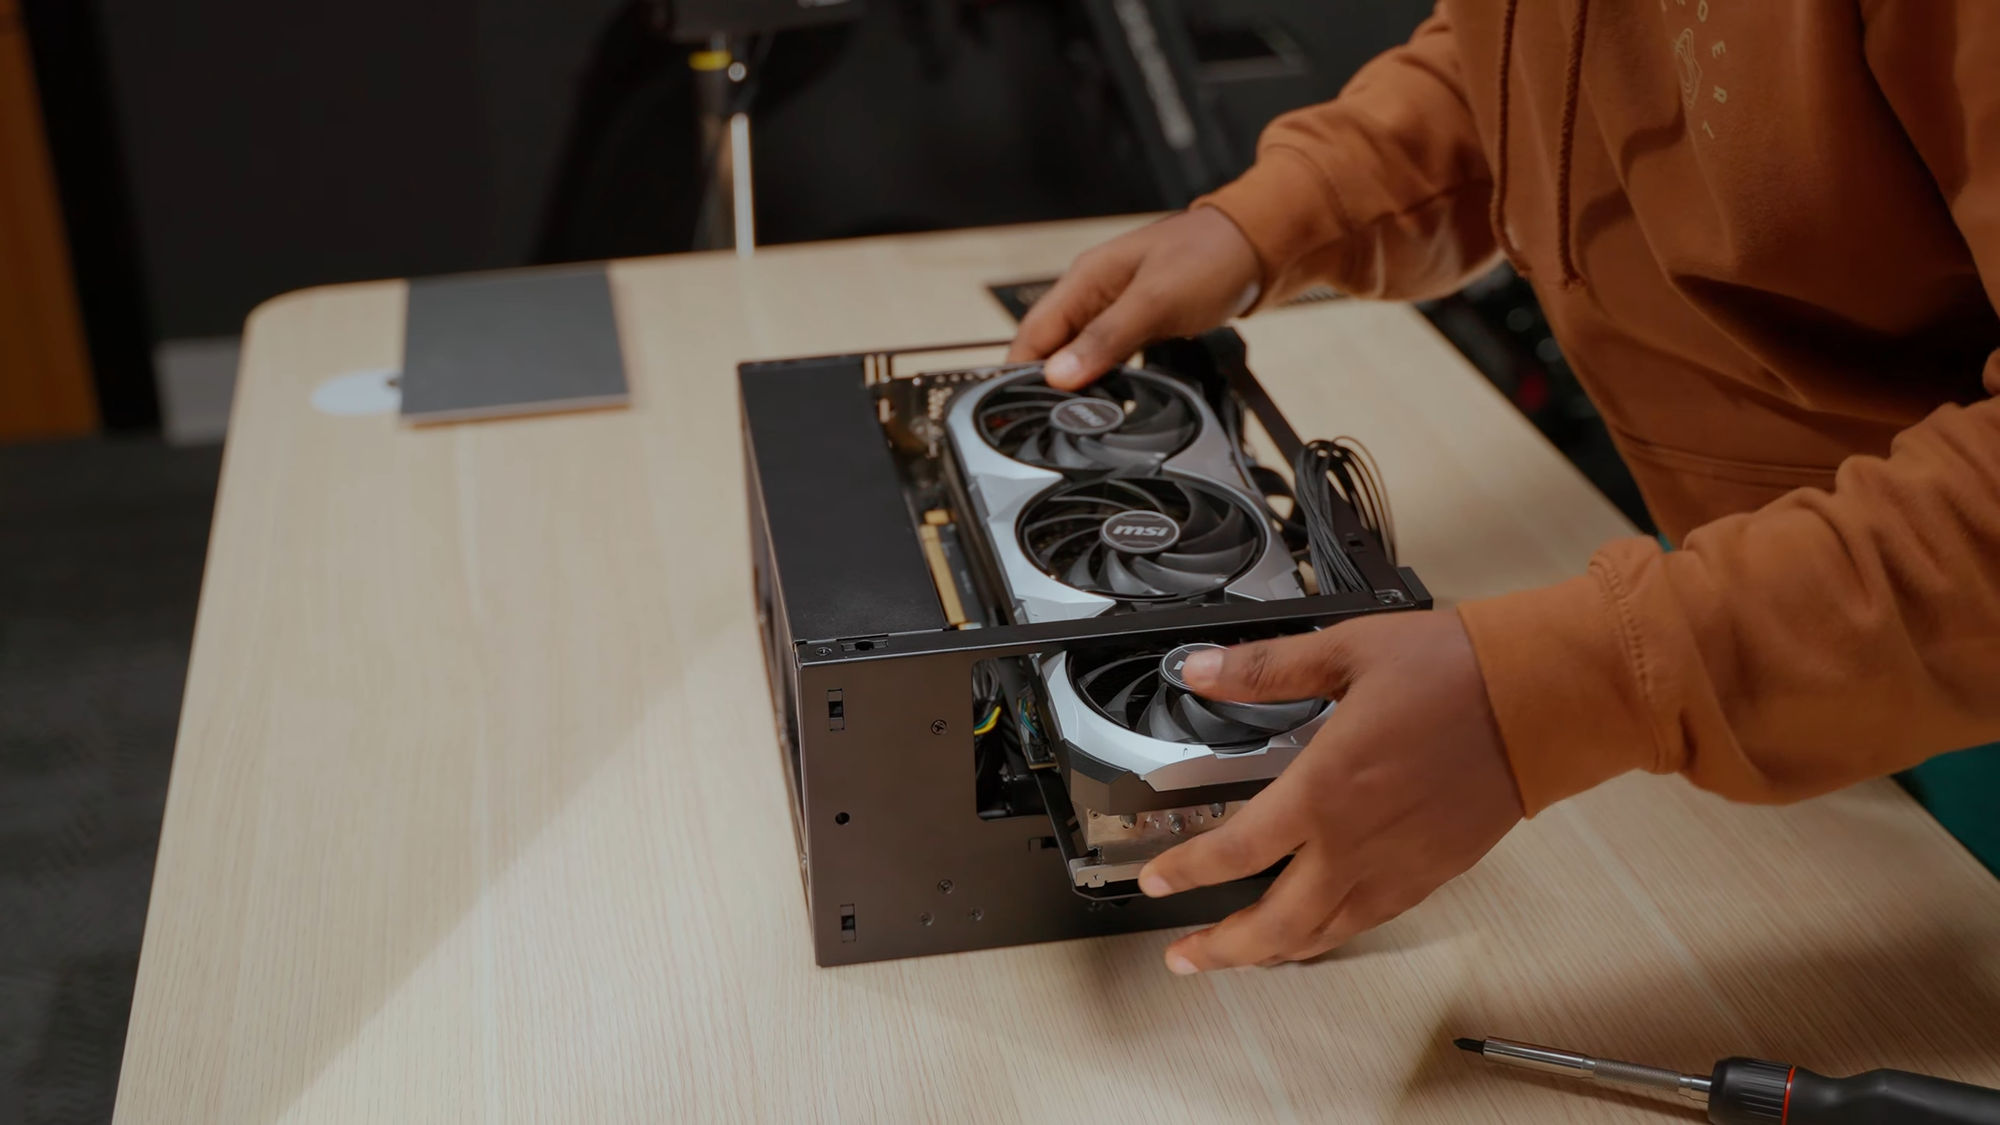
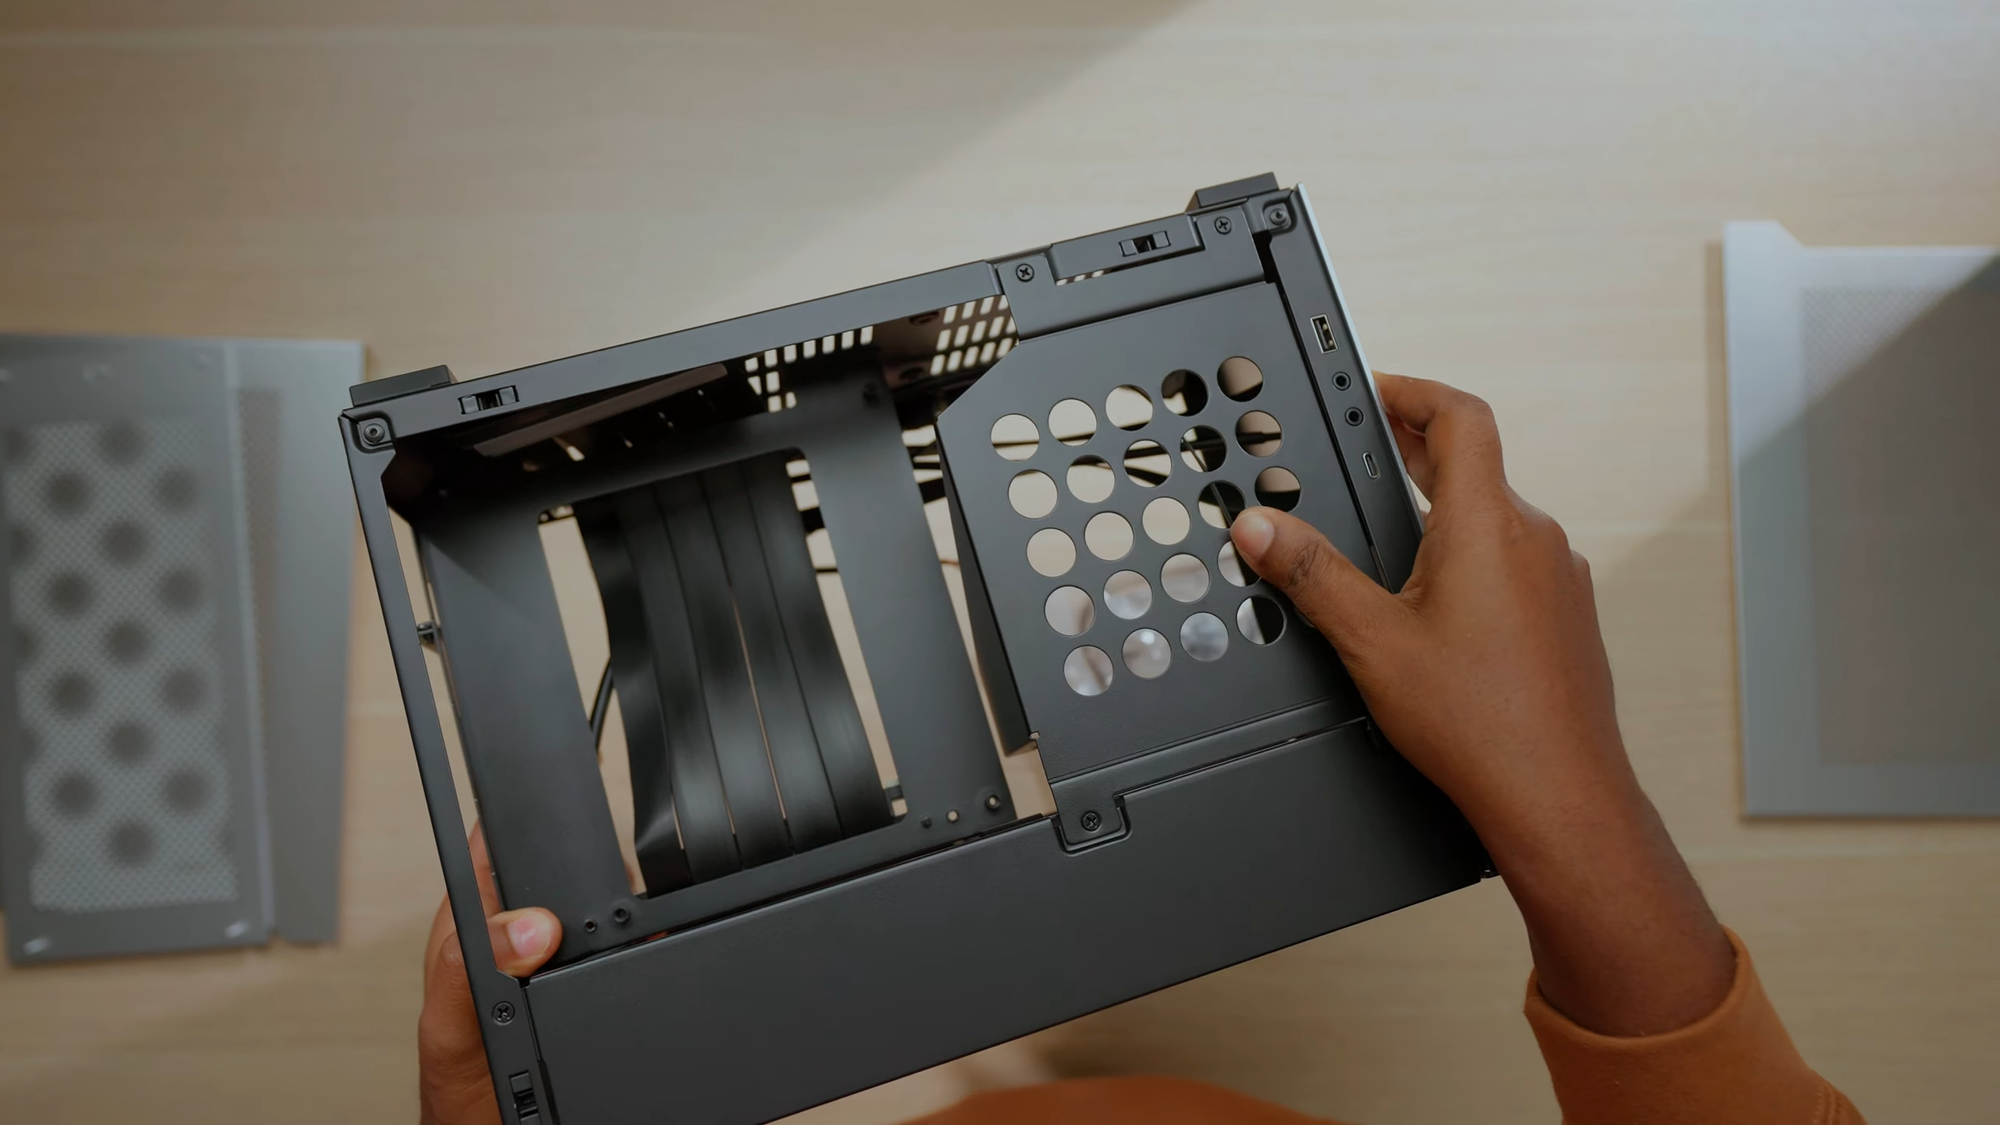
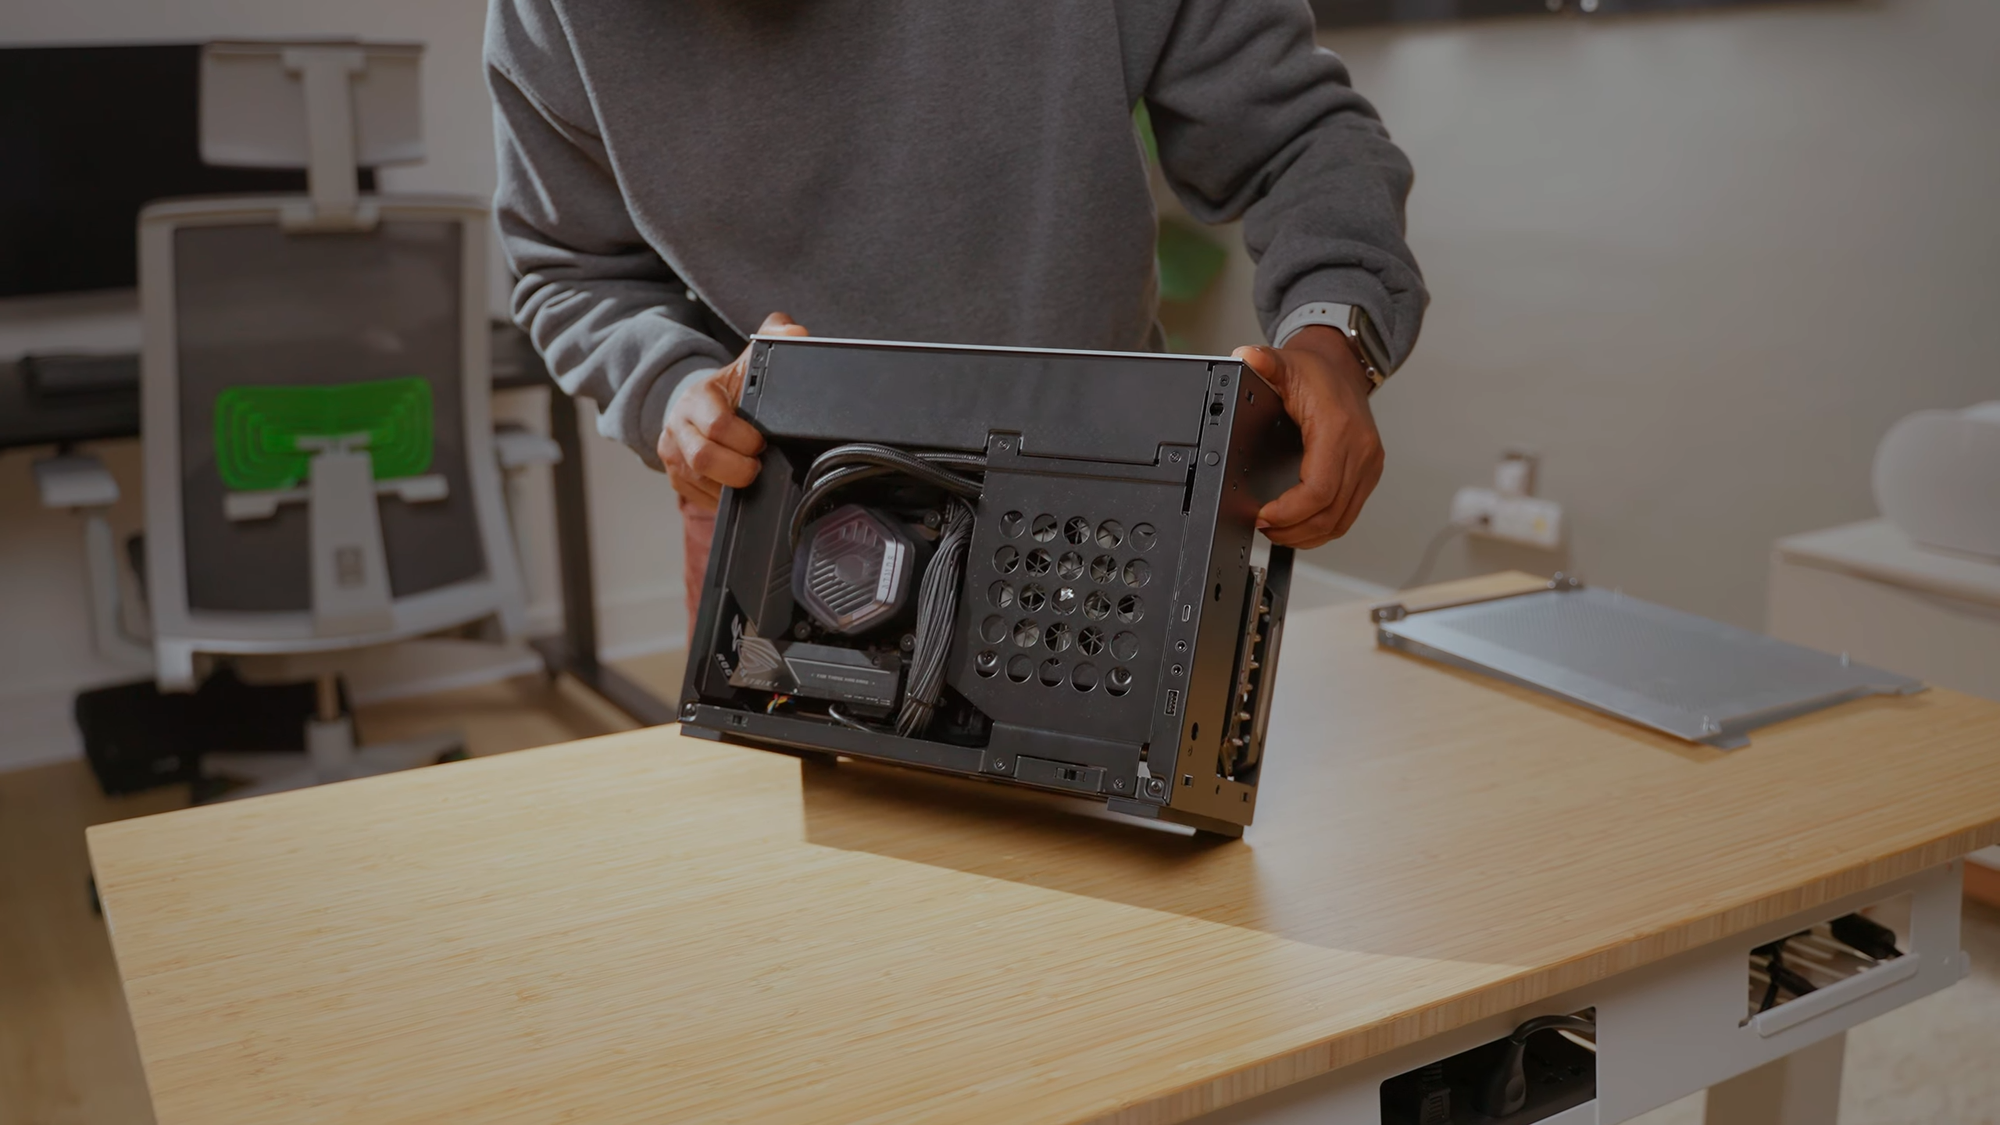
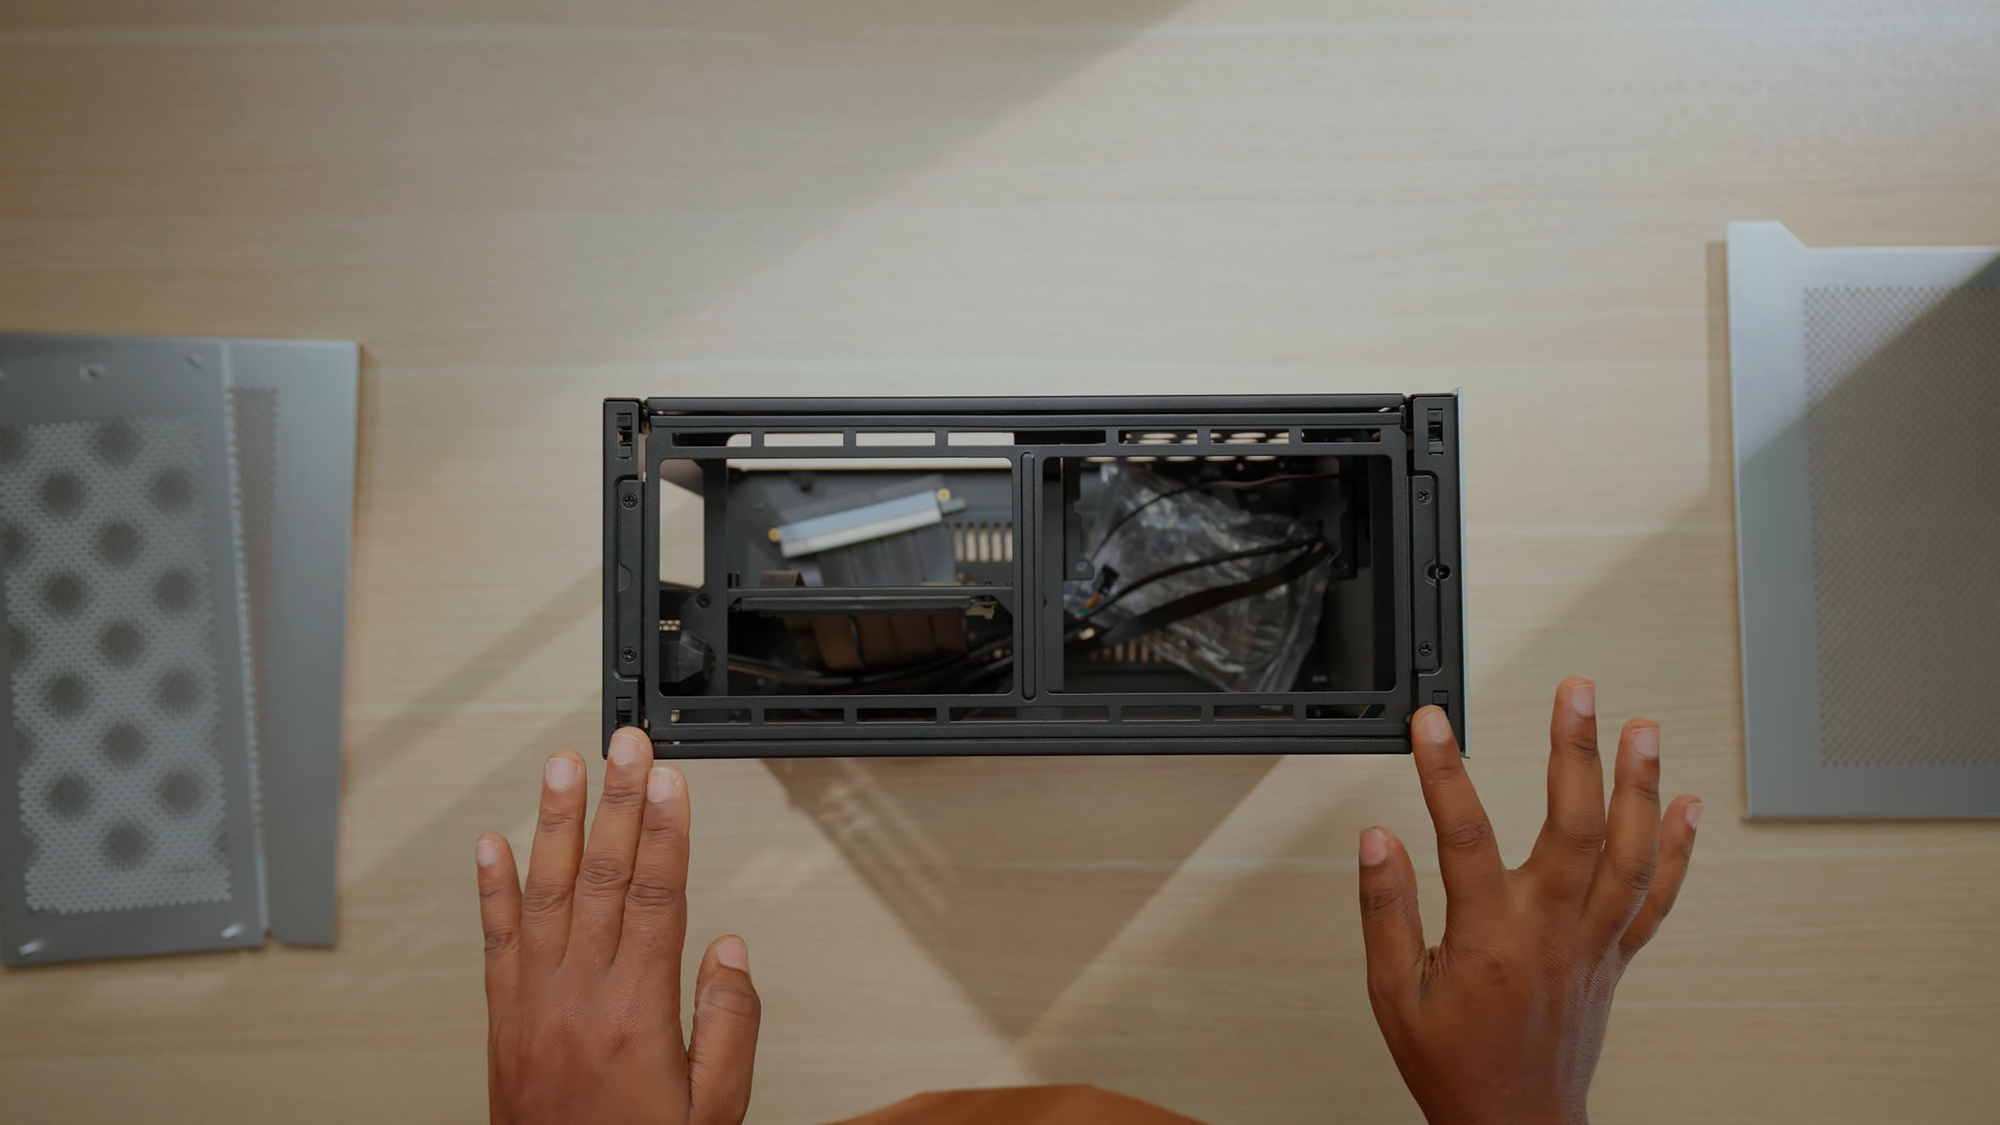
It also includes a PCIe 4.0 riser cable, which enhances compatibility with the latest graphics cards. I love how premium and durable it looks and feels, with its aluminum exterior combined with an SPCC steel interior. The silver version looked a lot more aesthetic and premium to me, so I opted for that. However, one minor downside is the four thumb screws at the back, which feel unnecessary since the panels already have push pins for easy removal.
Motherboard: ASUS ROG Strix Z690-I Gaming WiFi
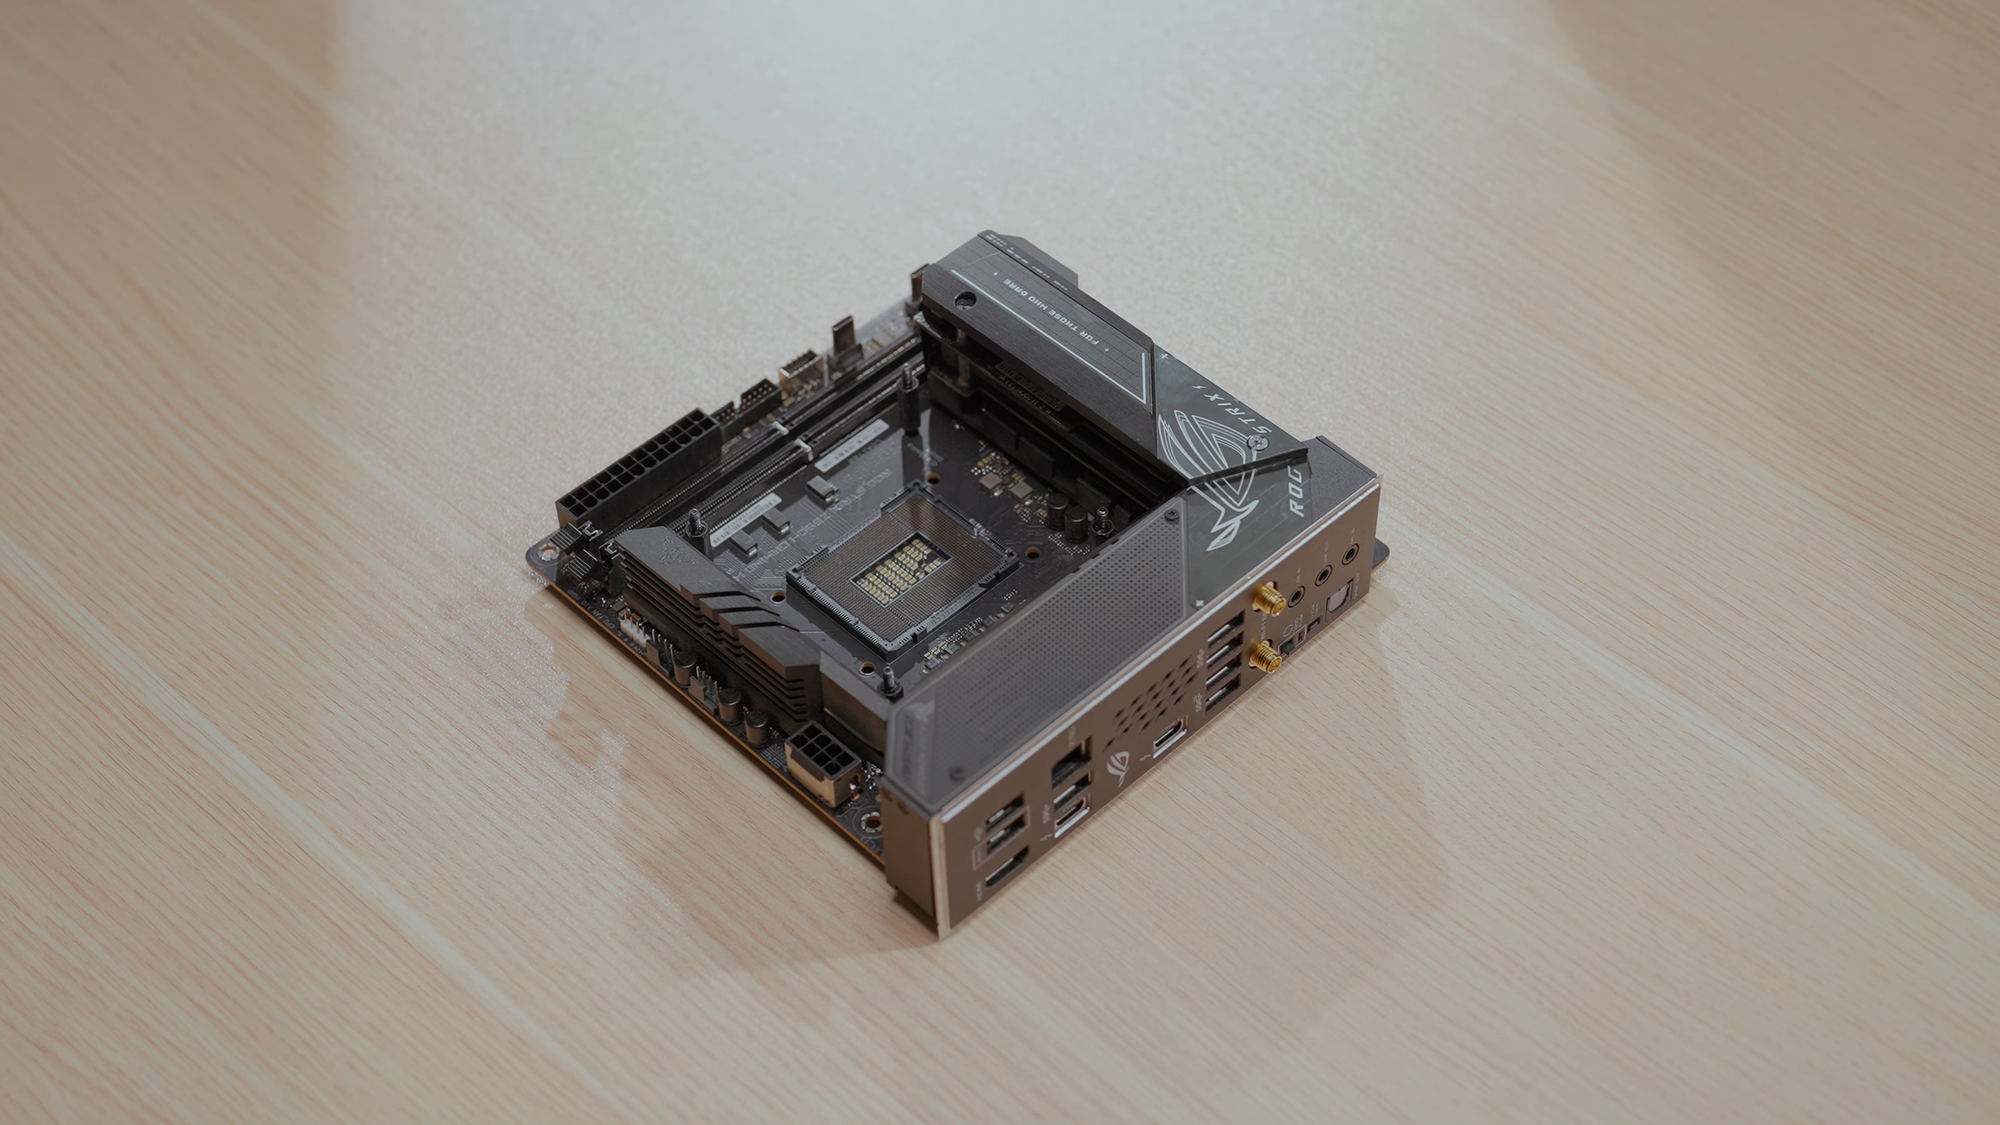
For the motherboard, I went with the ASUS ROG Strix Z690-I, a mini-ITX board that balances compact size with powerful features:
- Dual M.2 slots (both supporting PCIe 4.0 SSDs) for high-speed storage
- High I/O connectivity including Thunderbolt 4, USB 3.2, and WiFi 6E
- Premium power delivery to handle high-performance Intel CPUs
For a creative workflow, fast SSDs and strong connectivity are essential, making this board a perfect fit.
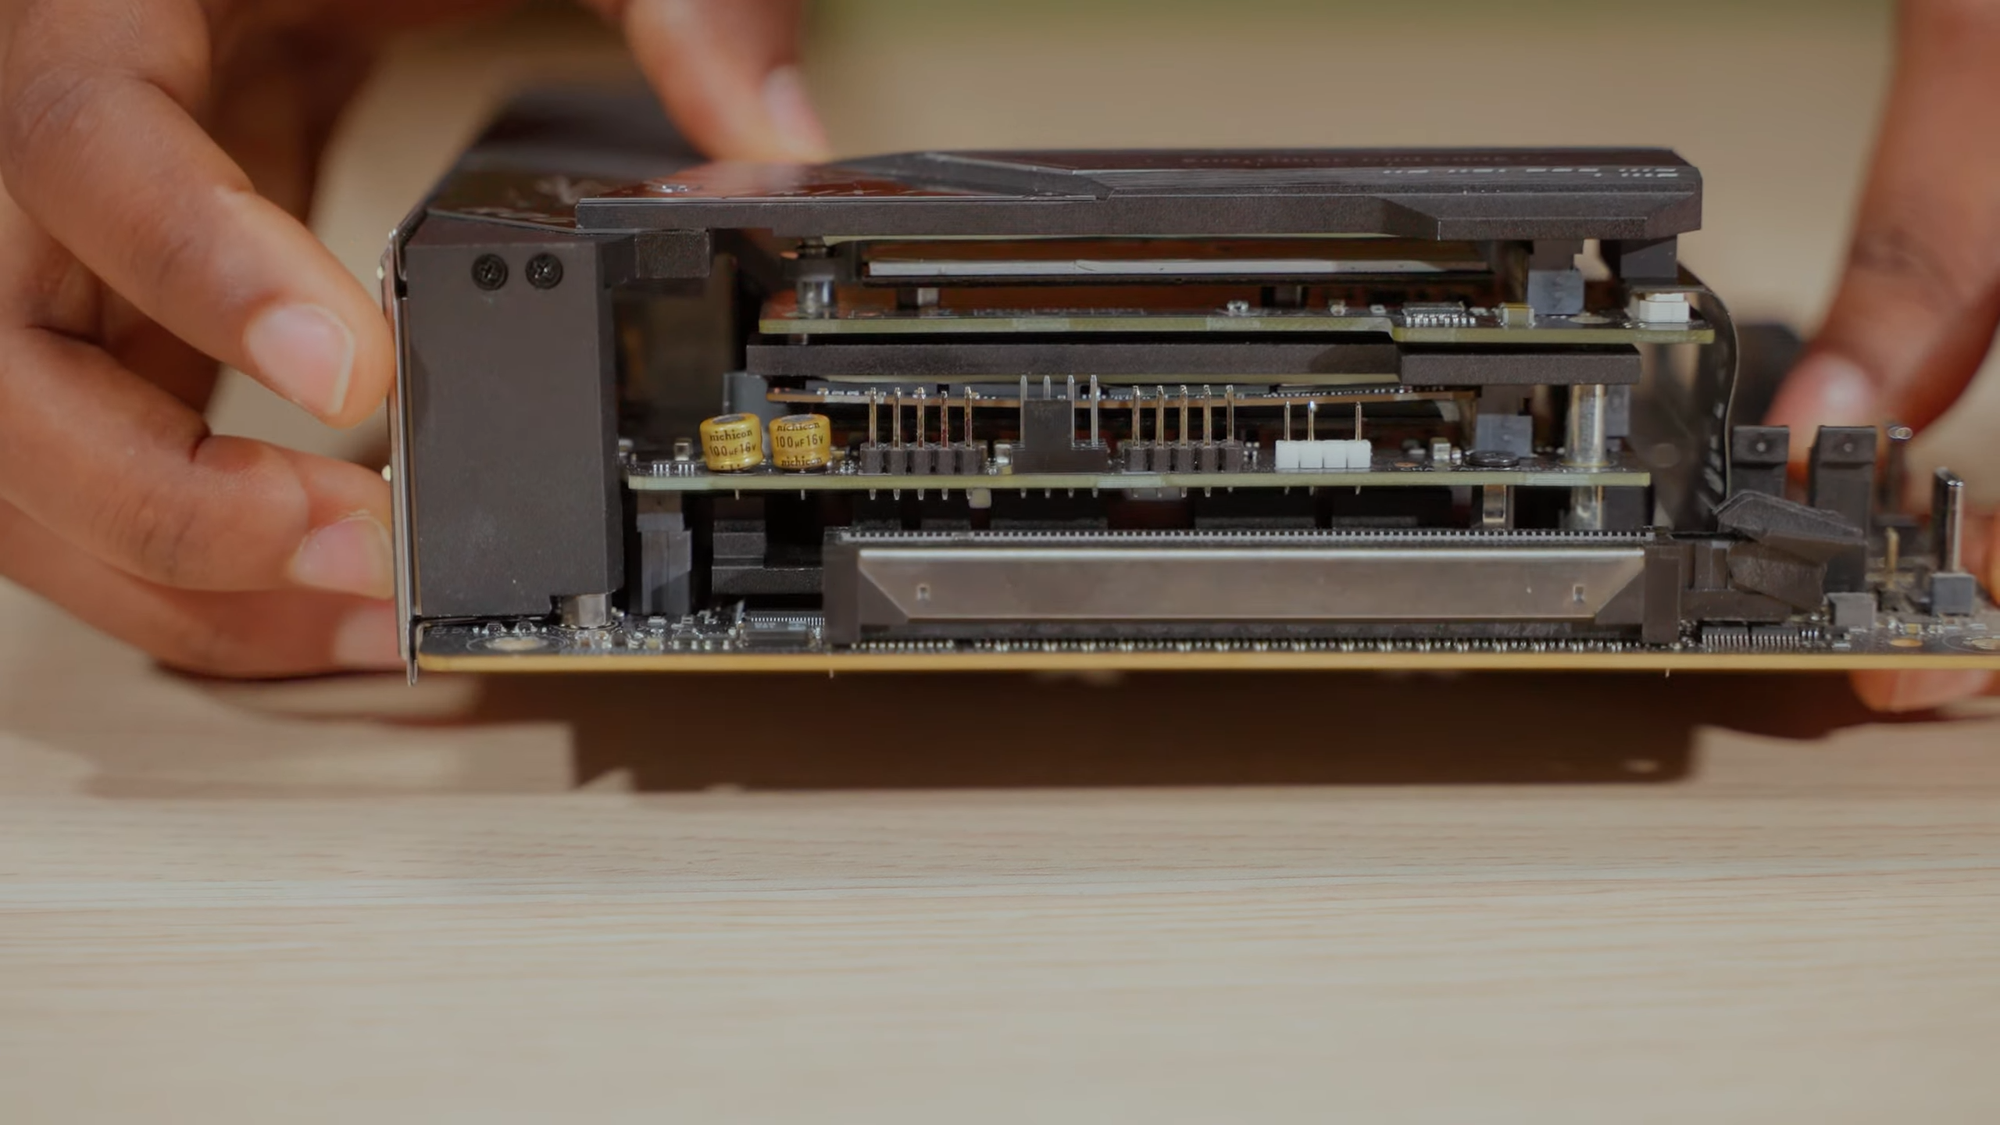
Storage: Samsung 980 Pro 1TB NVMe SSD
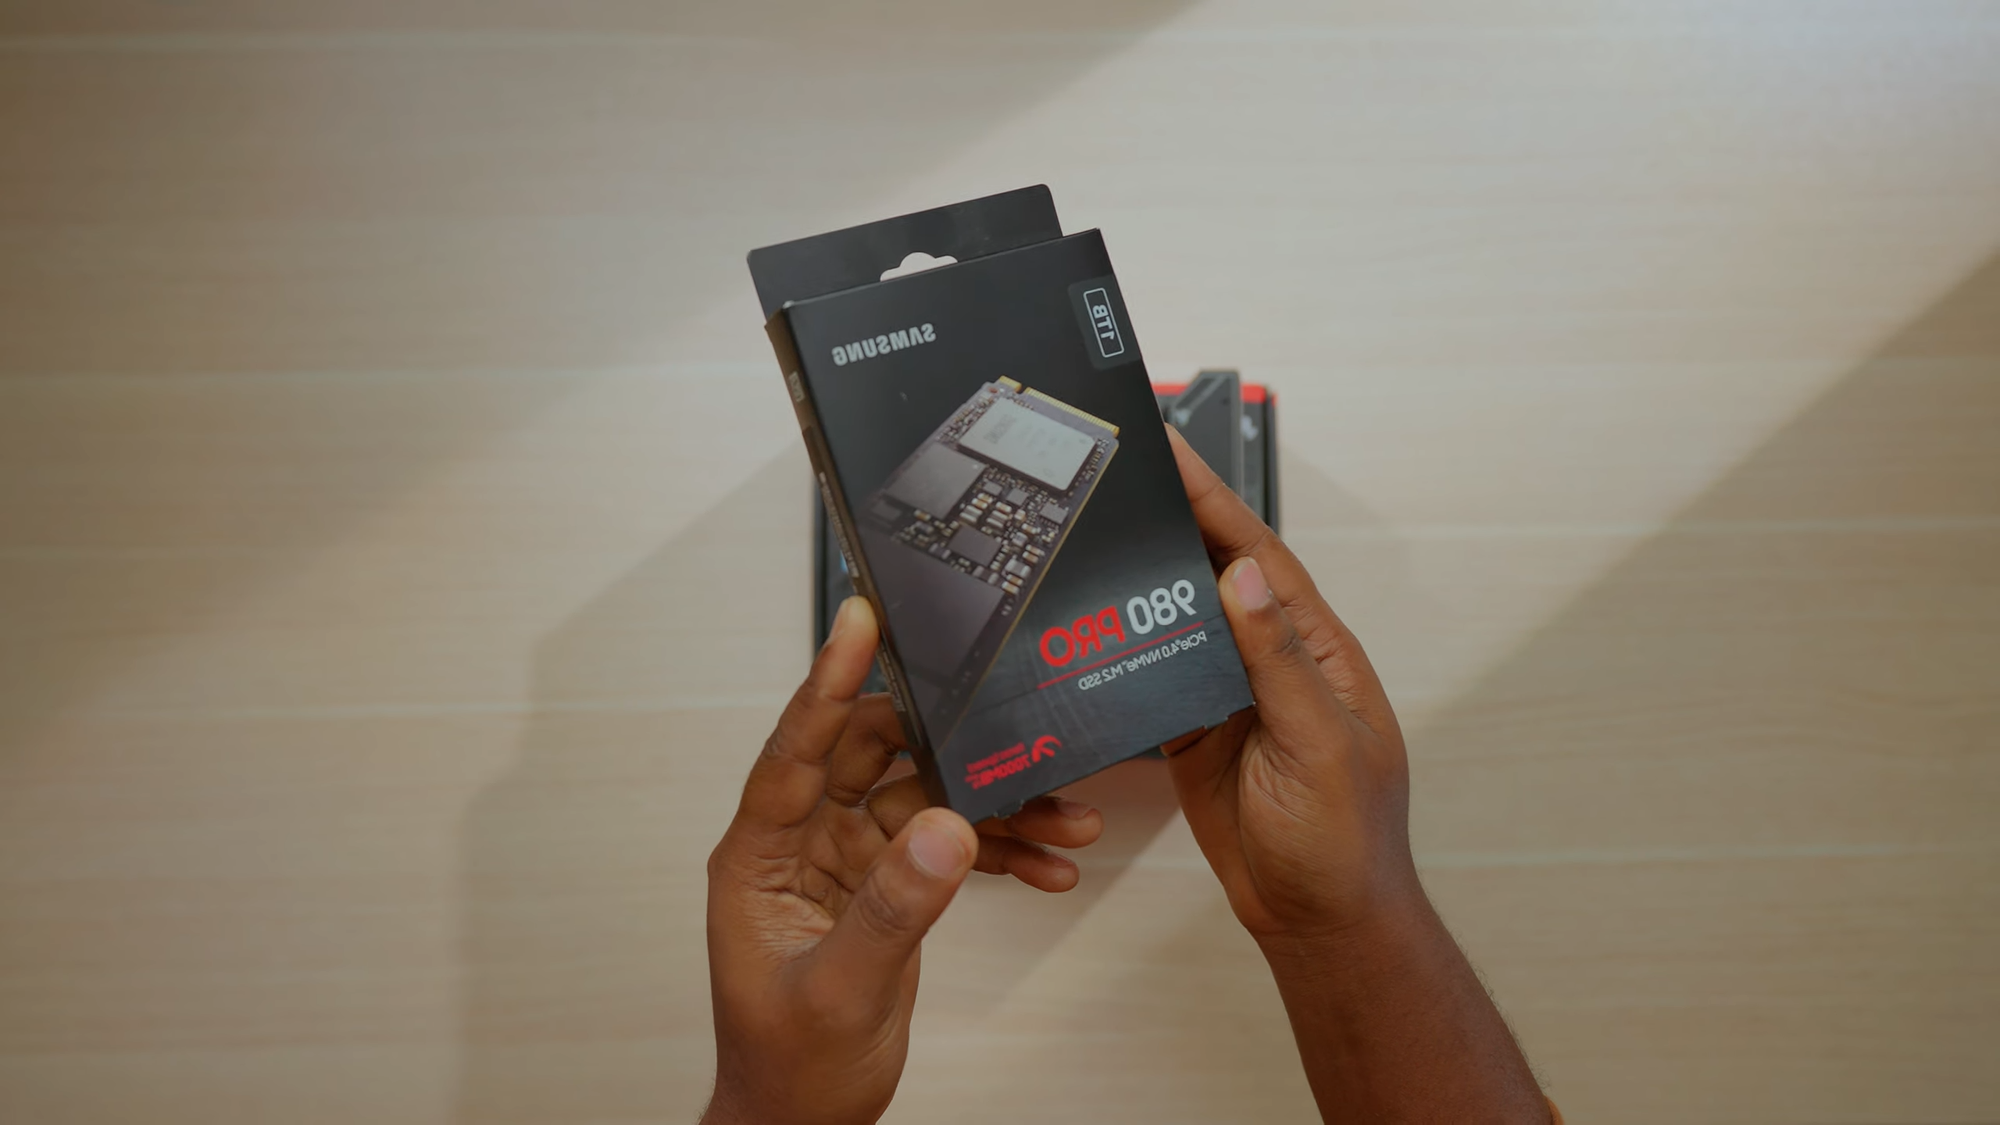
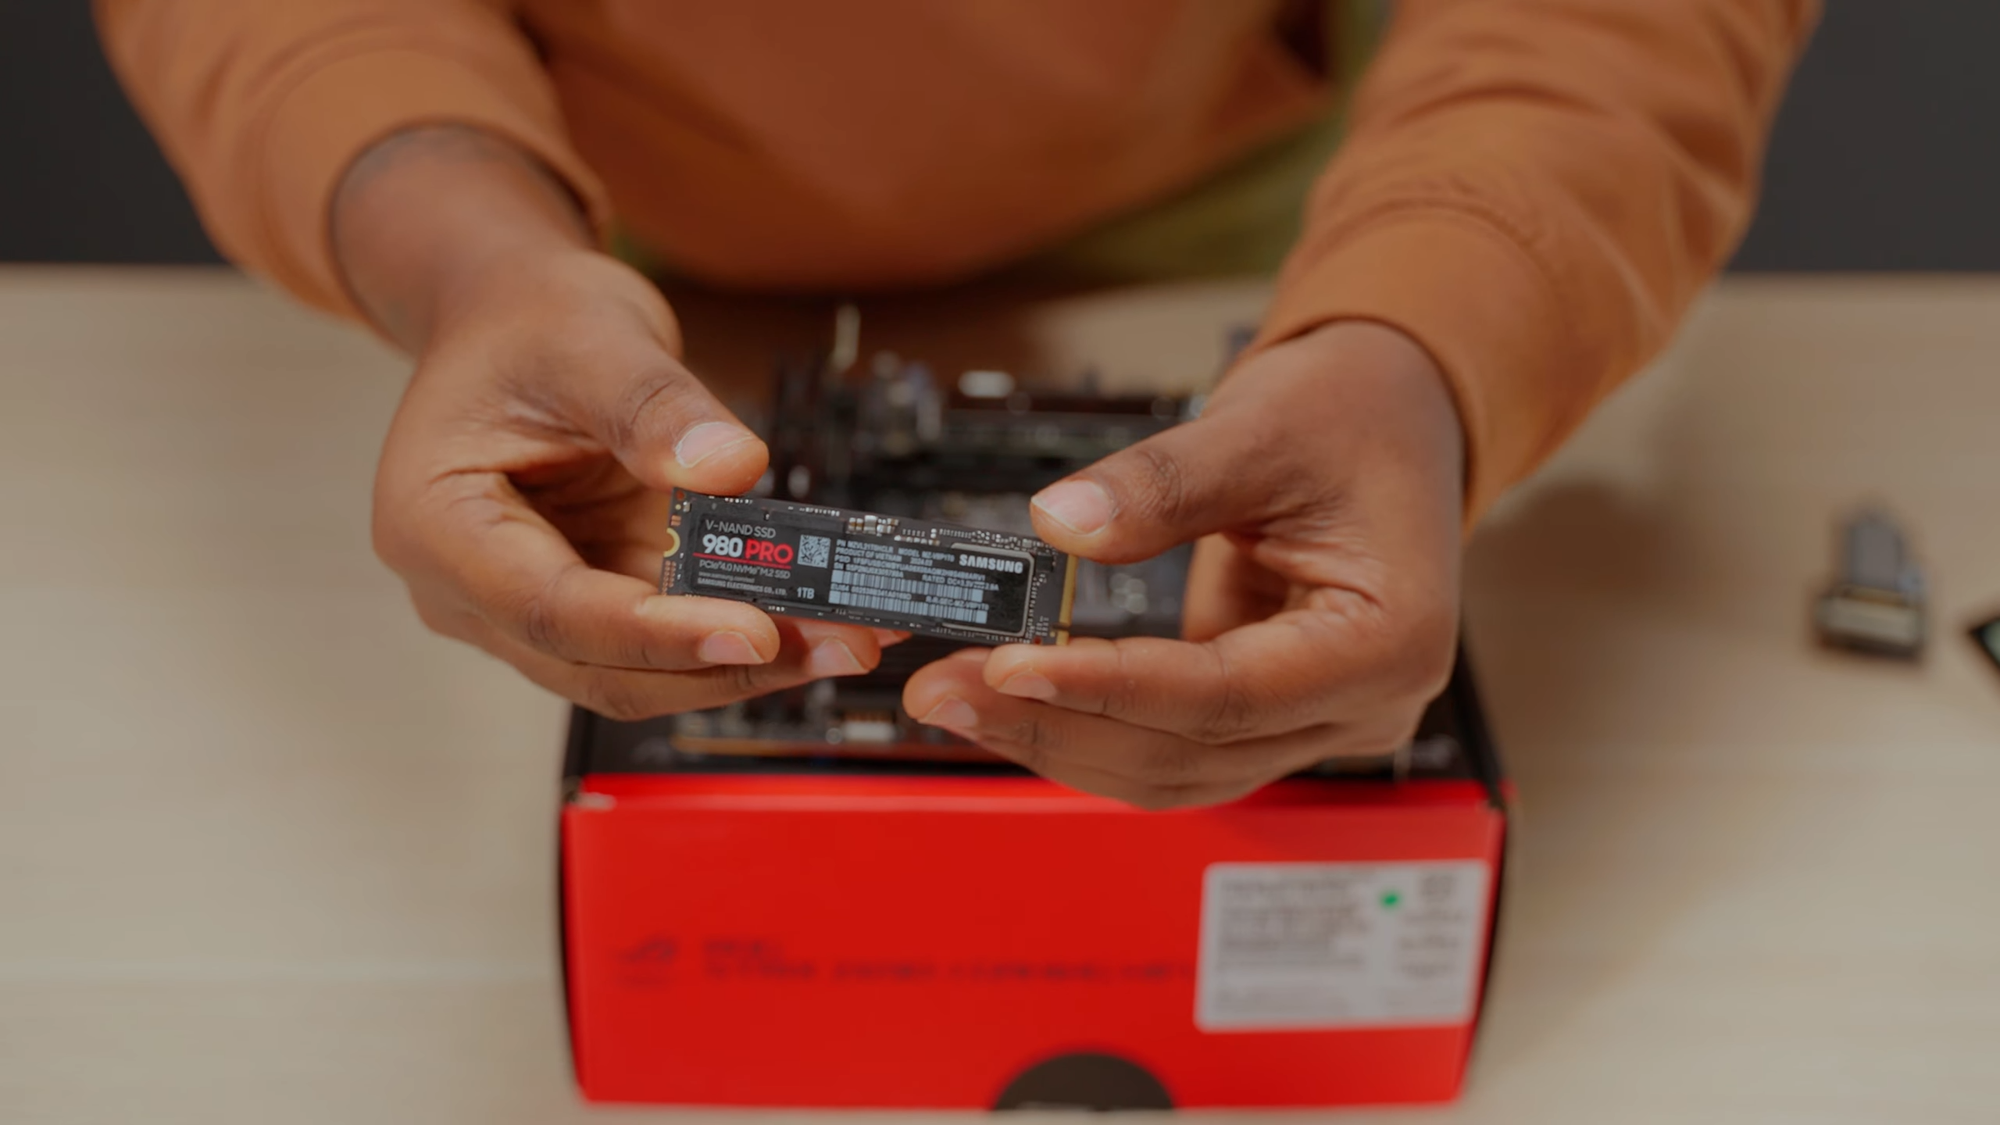
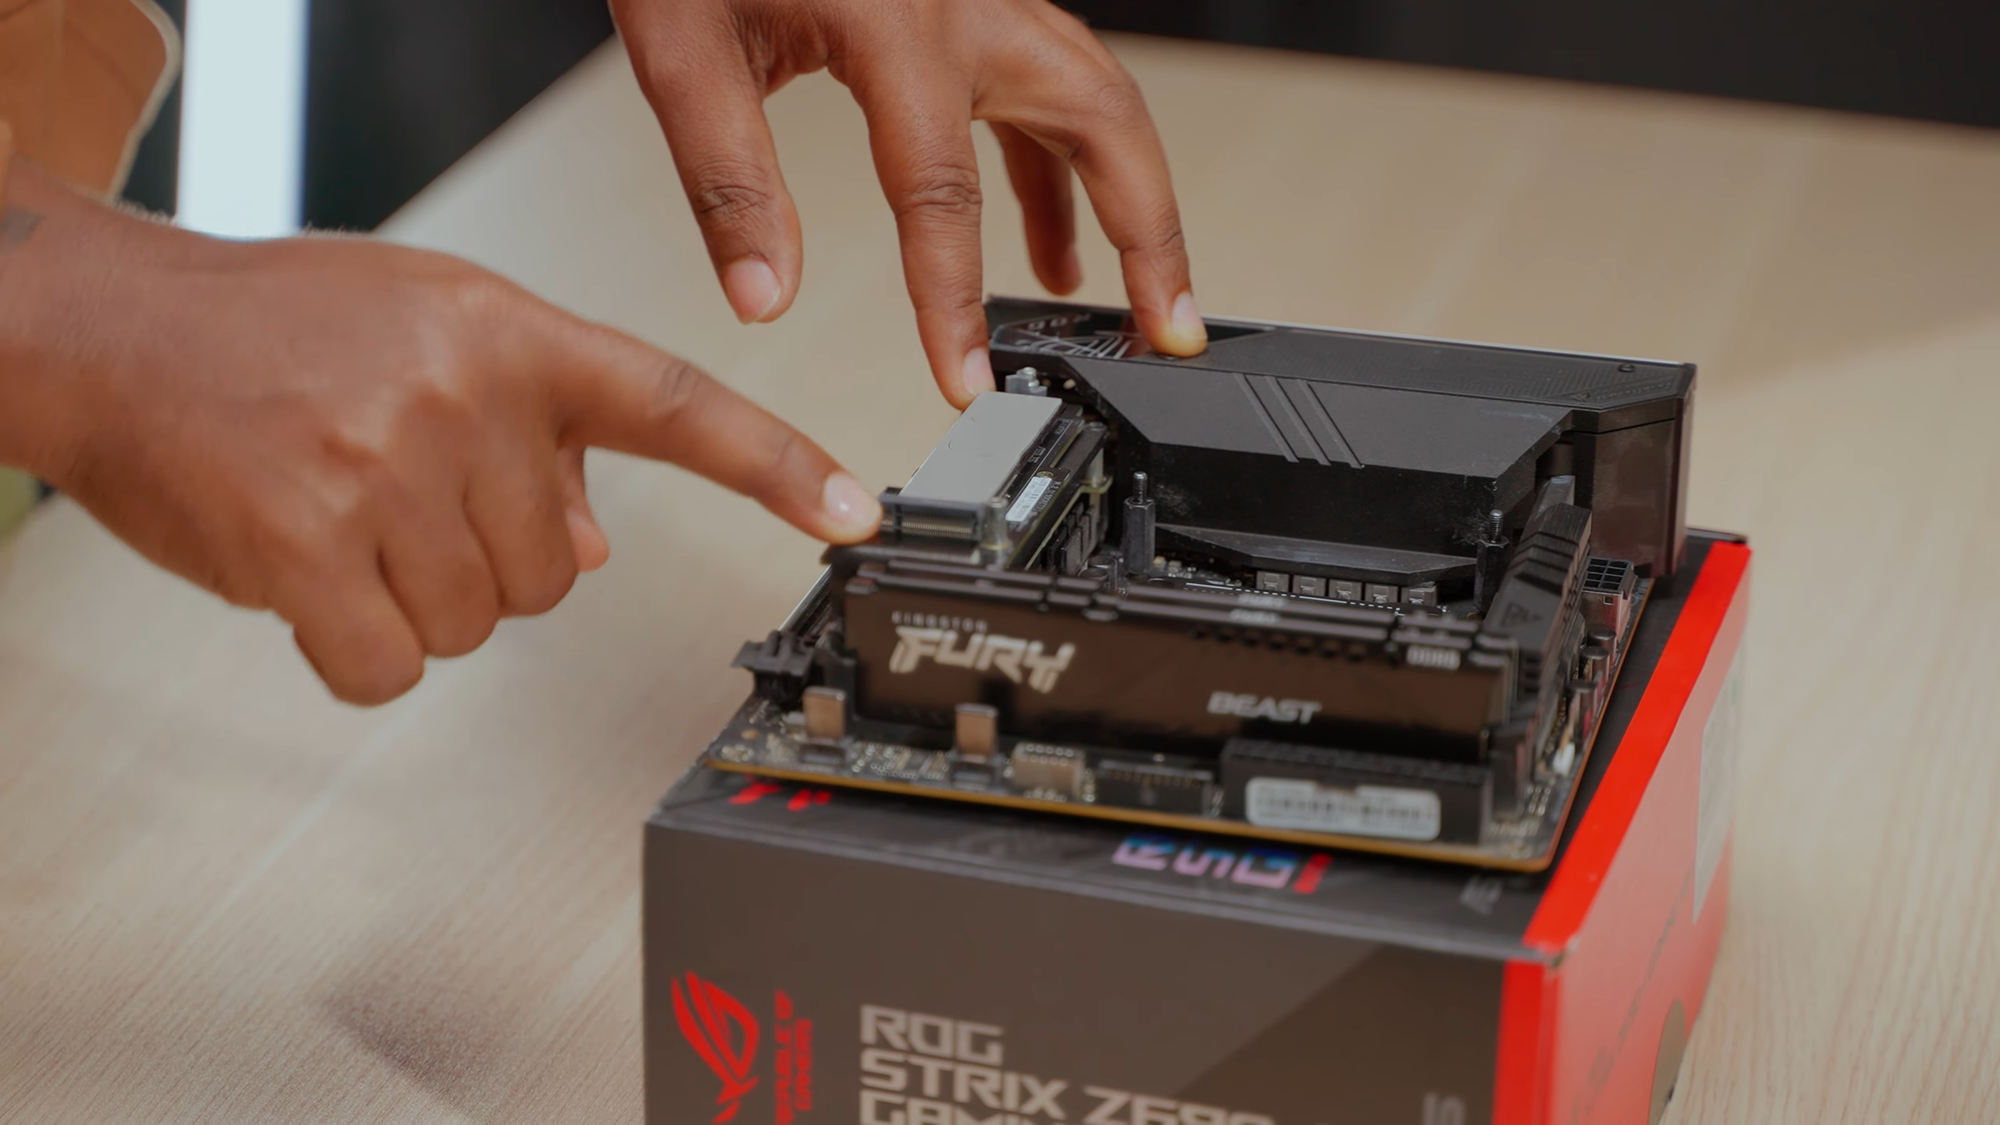
I chose the Samsung 980 Pro for its PCIe 4.0 speeds (up to 7000MB/s), ensuring smooth performance while editing large video files. Since the motherboard has two M.2 slots, I installed the first SSD in the bottom slot, leaving the top slot open for future expansion. This approach prevents unnecessary cable management issues later on.
RAM: Kingston Fury 64GB DDR5 (6400MT/s)

For RAM, I opted for 64GB of Kingston Fury DDR5 with a speed of 6400MT/s. While most creative software recommends 32GB, I found that 64GB significantly improves multitasking—especially when working with multiple 4K video timelines or AI-powered effects in Premiere Pro. Faster RAM speeds also enhance responsiveness in demanding software like Blender.
Processor: Intel Core i7-13700K
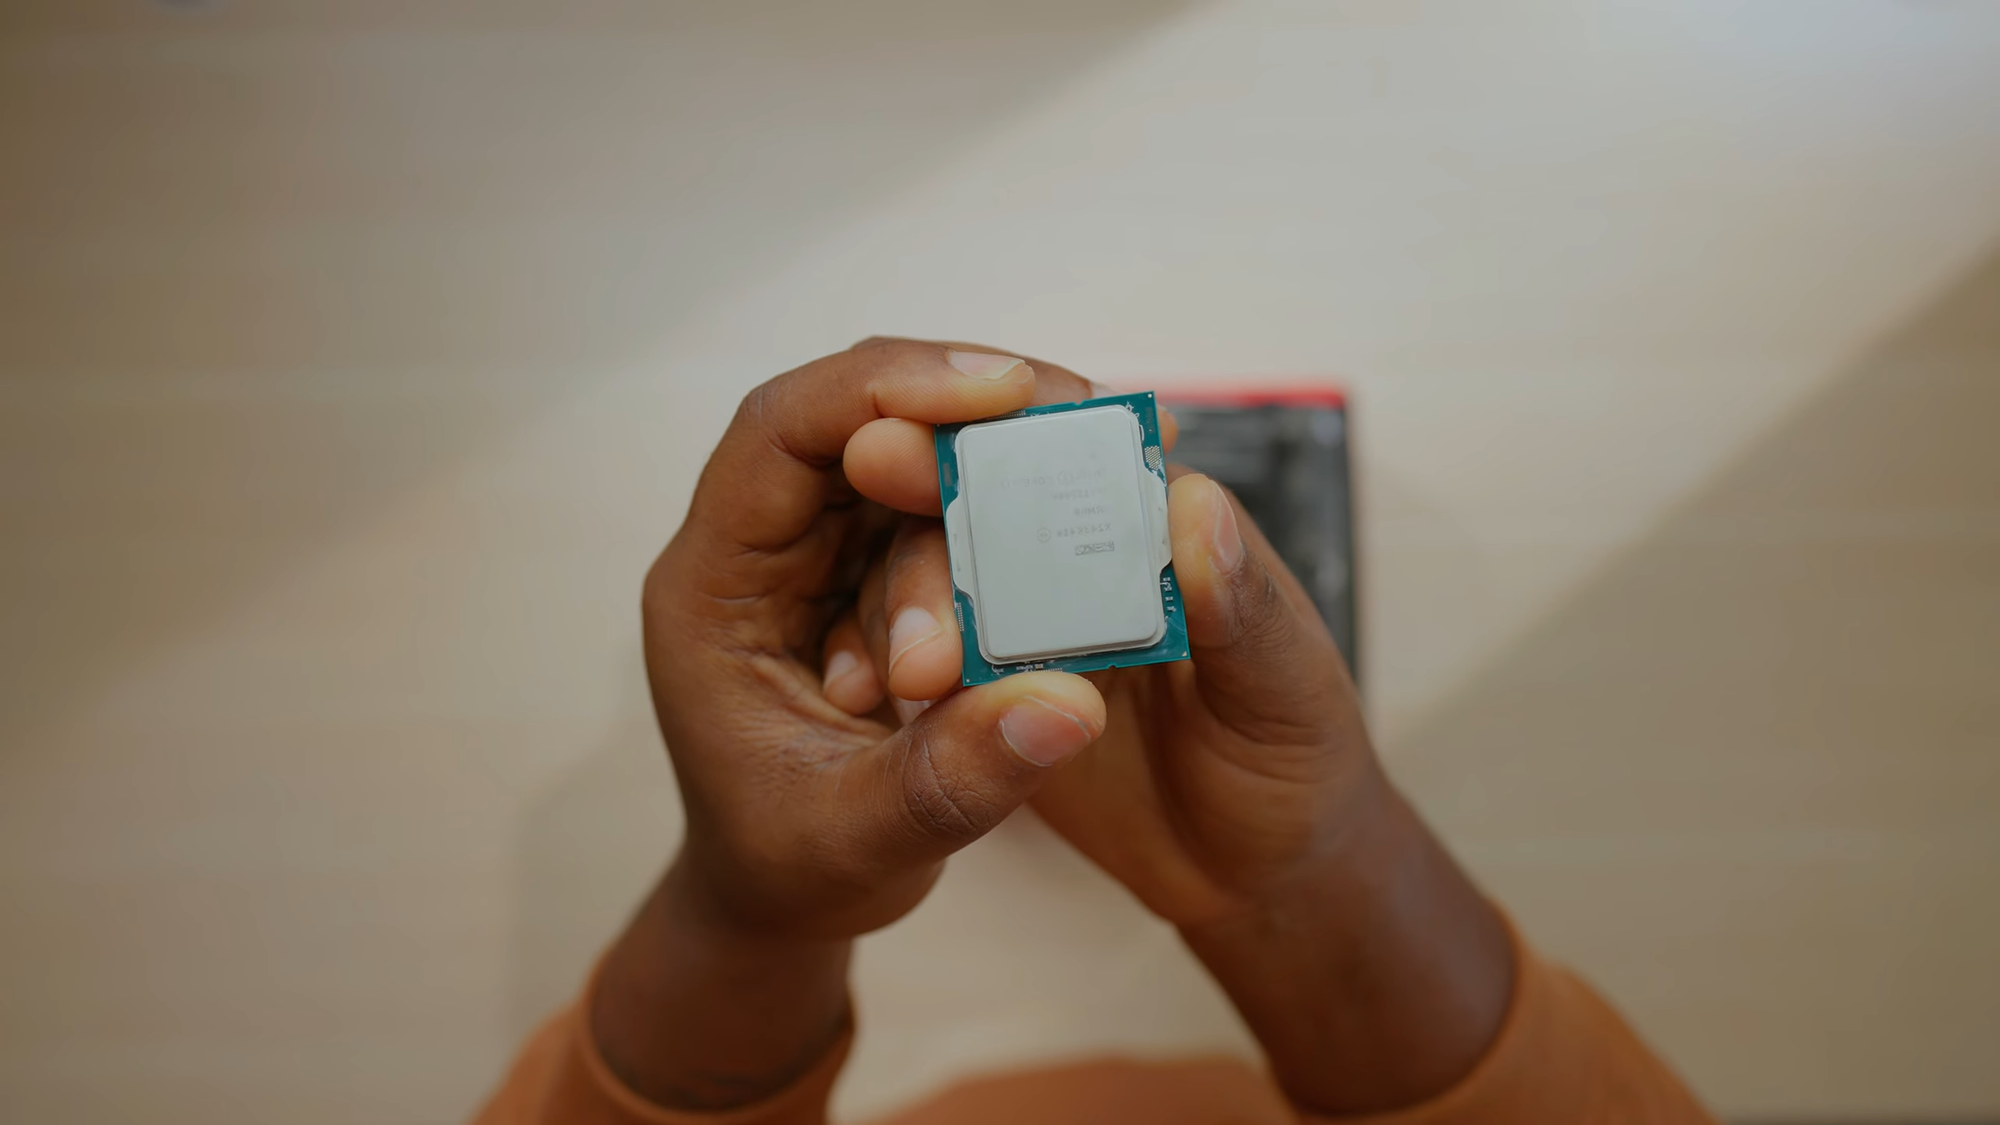
The Intel i7-13700K is a 16-core (8P + 8E) processor with boost clocks up to 5.4GHz. It offers a great balance between high clock speeds for gaming and multi-core performance for rendering and video editing.
Since this CPU is known to run hot under load, cooling is crucial. I also installed the Thermalright CPU contact frame to ensure better heat dissipation.
Cooling: Cooler Master MasterLiquid Atmos 240 AIO
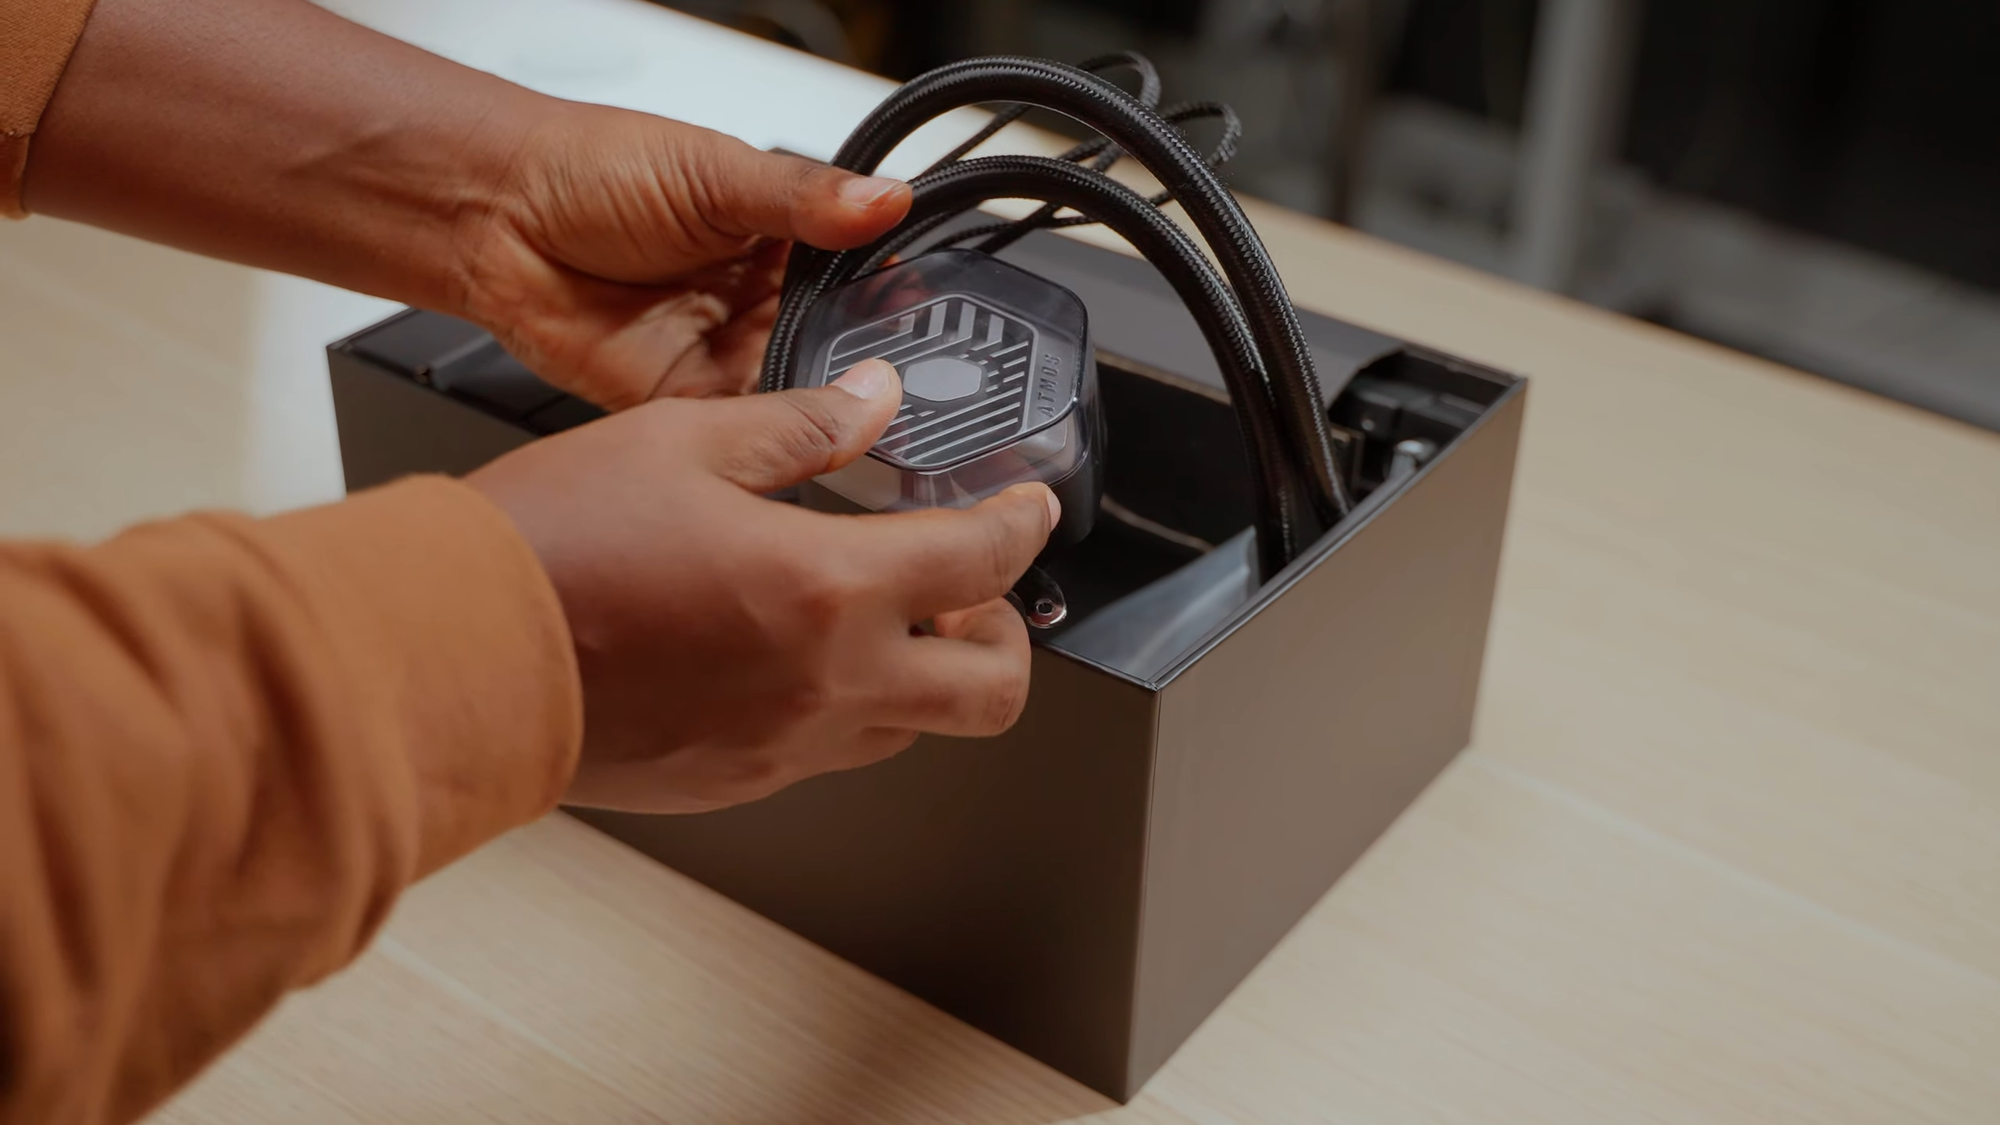
Given the case’s built-in 240mm AIO support, I went with the Cooler Master MasterLiquid Atmos 240 for cooling.
It features:
- Thicker 37mm radiator for improved cooling capacity
- Two 25mm fans for better airflow
- RGB lighting (though I kept it minimal to maintain a clean aesthetic)
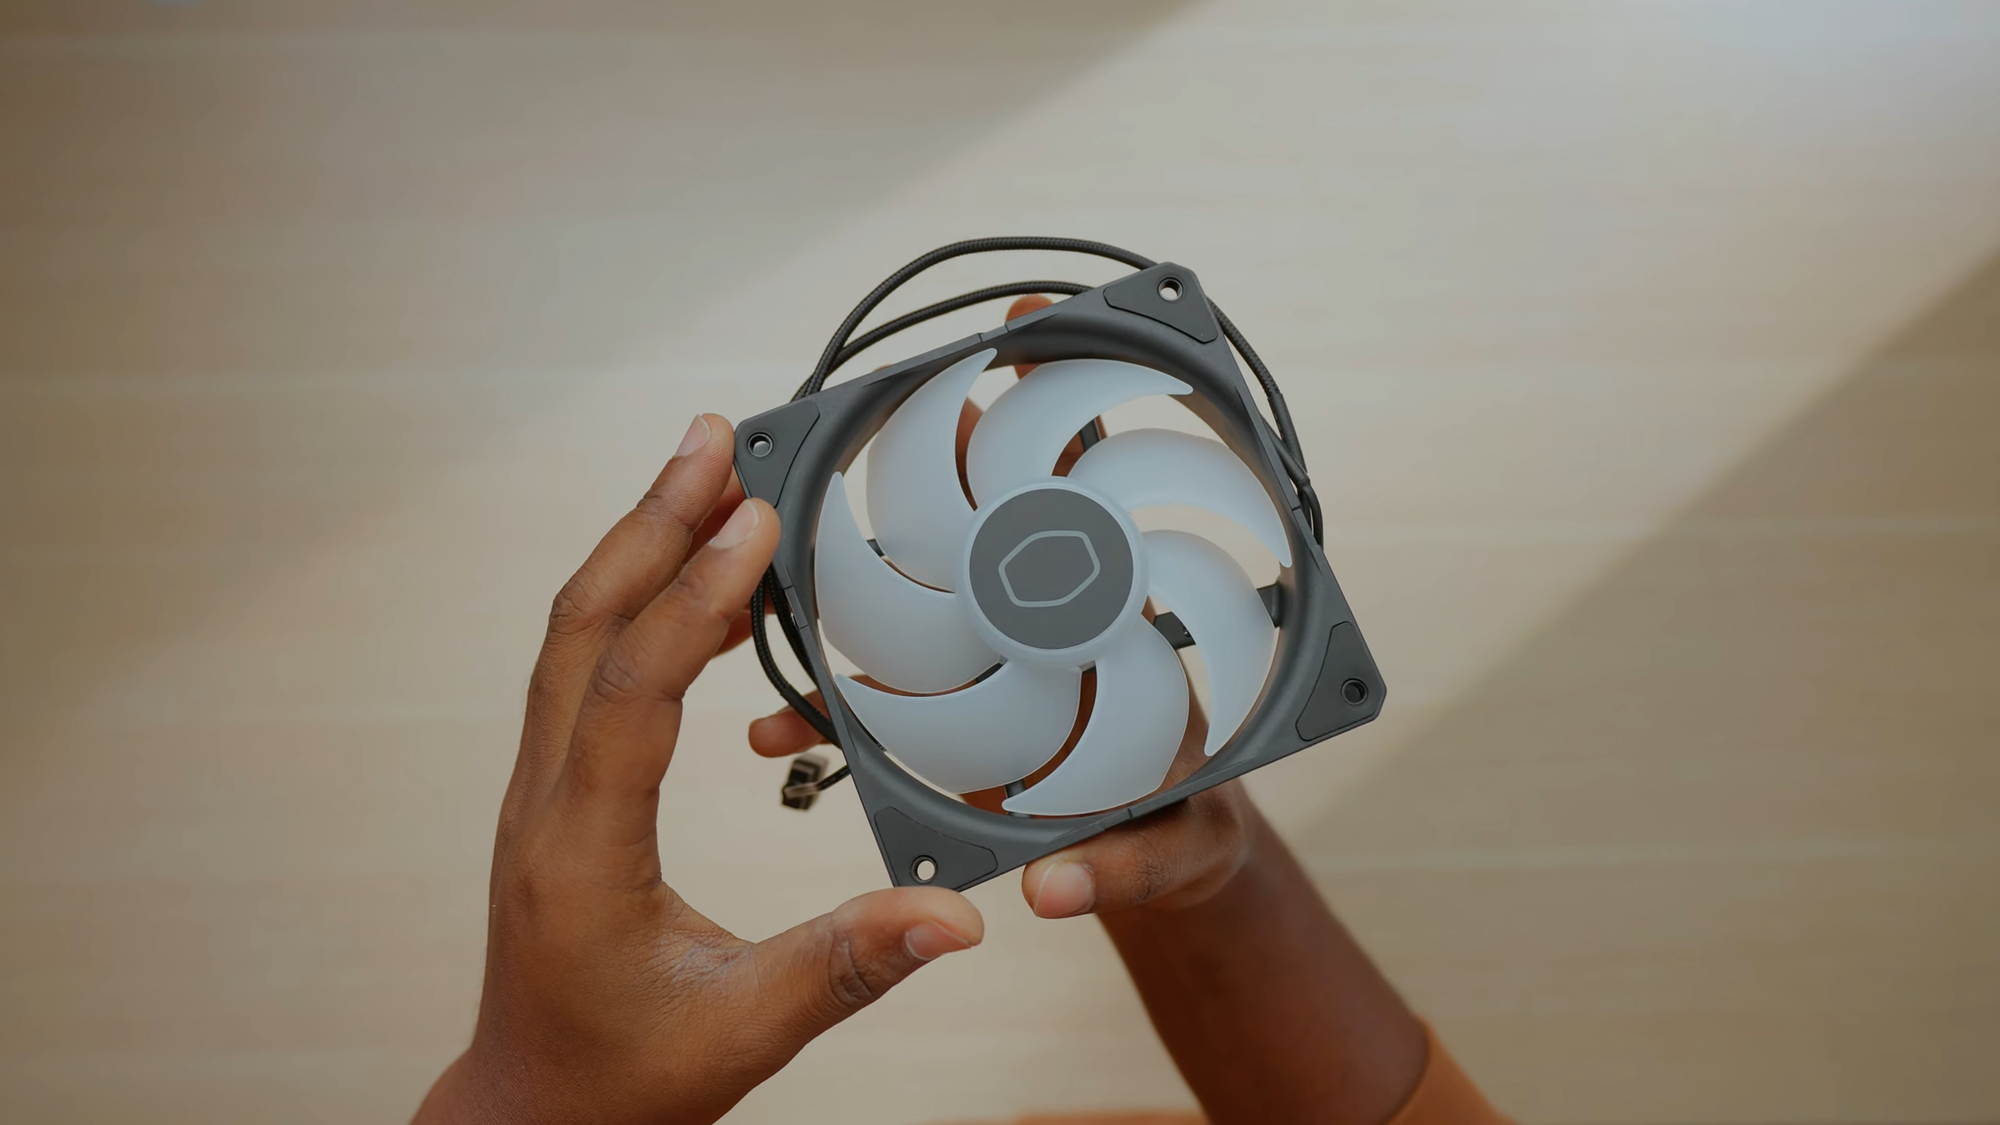
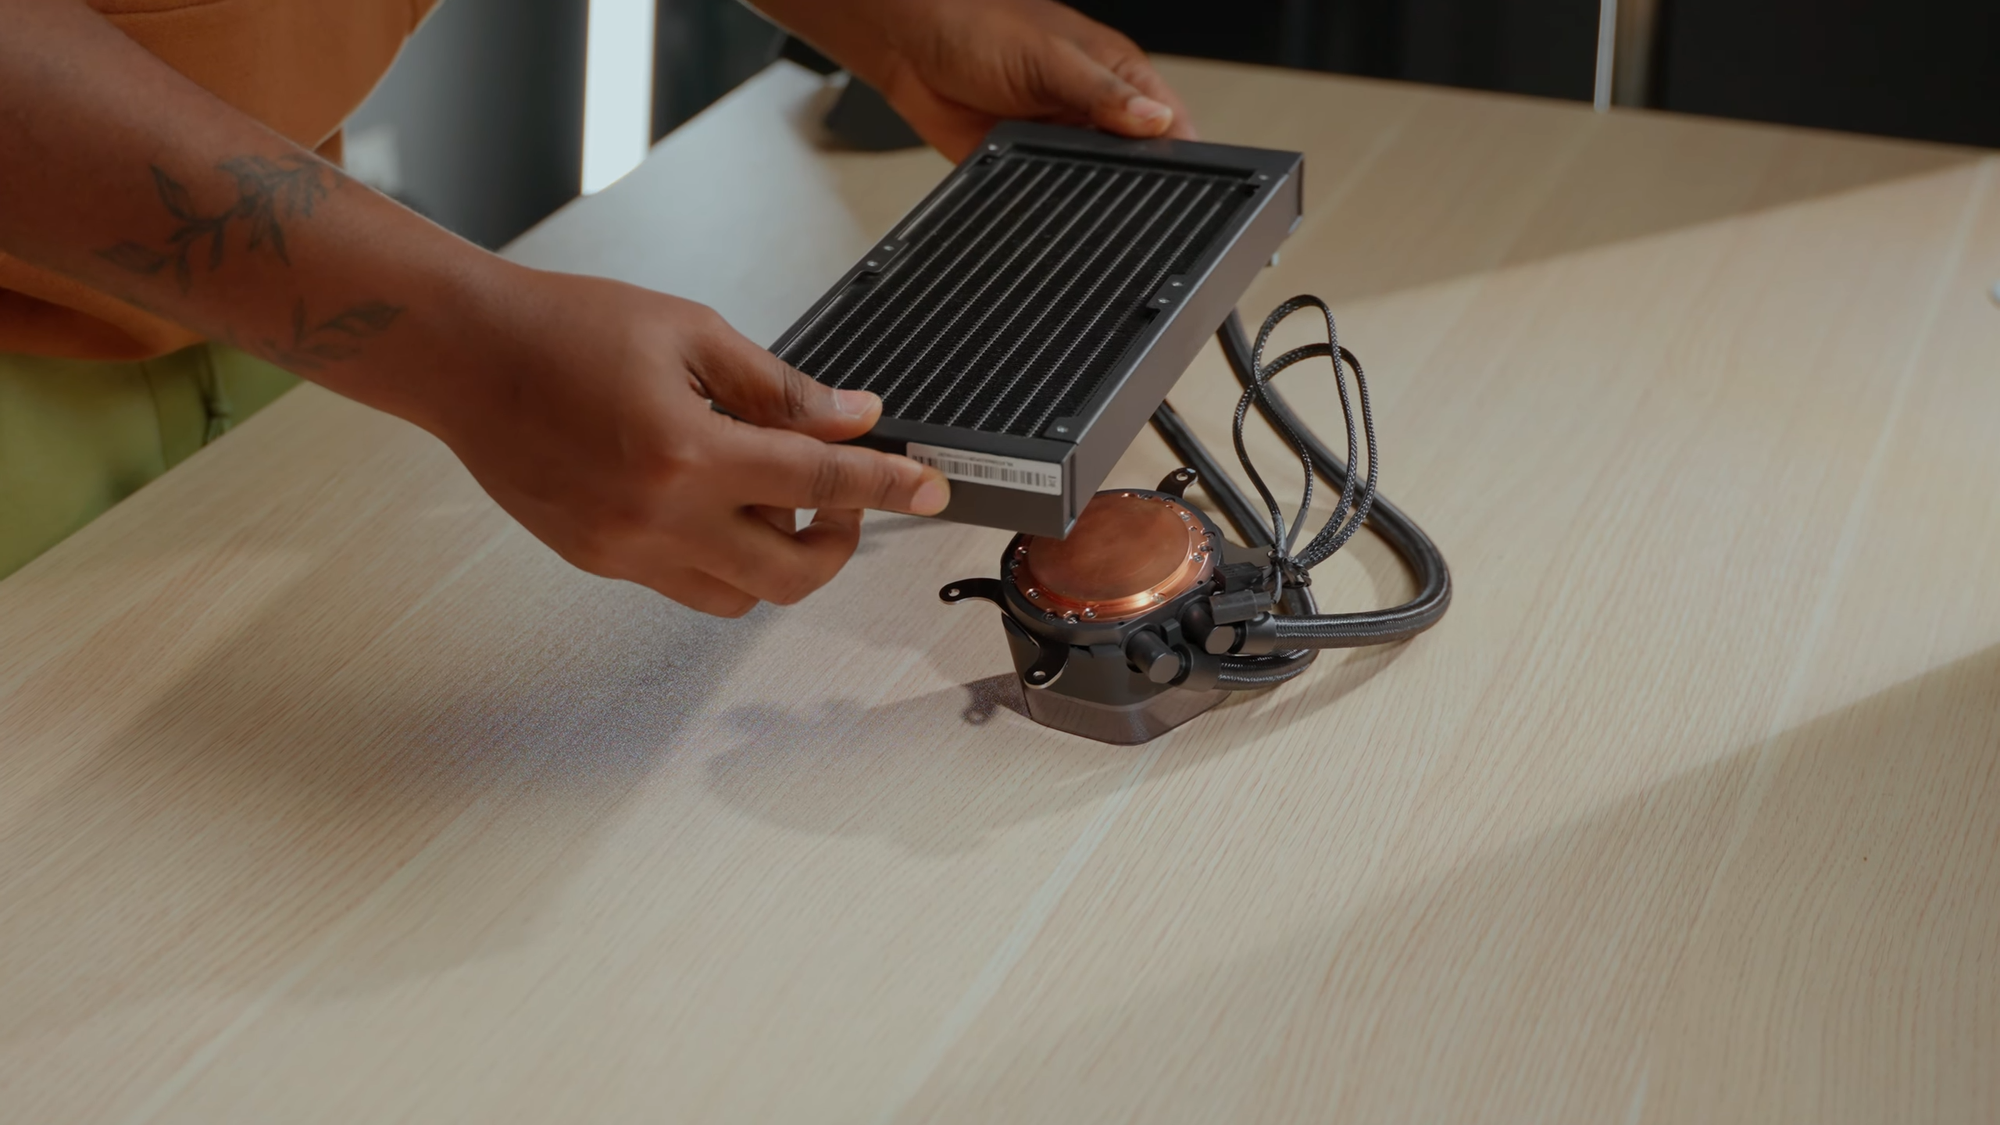
To simplify cable management, I connected all the fans directly to the motherboard using a fan splitter instead of using the included RGB hub.
Power Supply: Corsair SF1000L 1000W SFX-L PSU
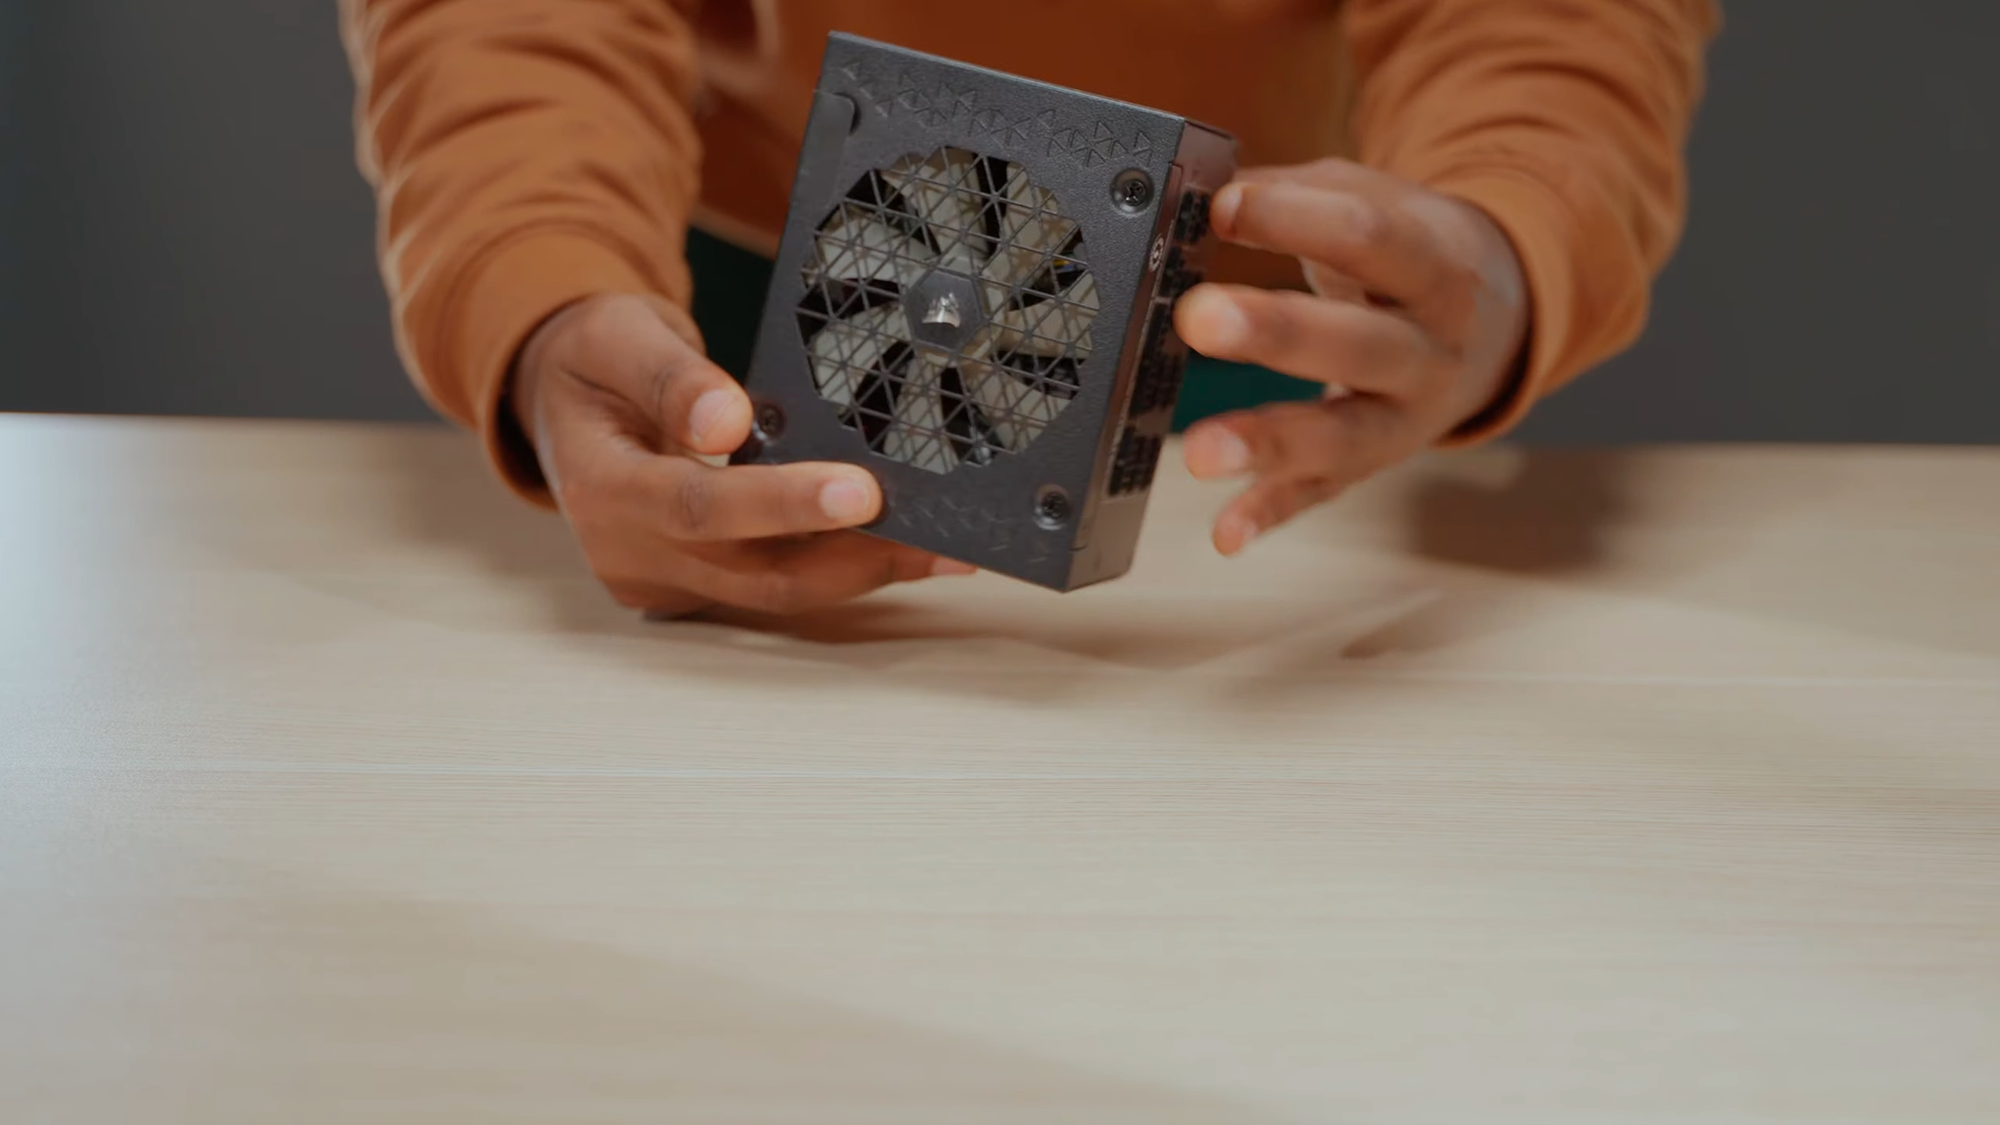
Initially, I tried using the ROG Loki 850W Platinum (SFX-L), but I quickly realized that larger SFX-L PSUs make installation difficult due to radiator tube obstructions. I switched to the Corsair SF1000L 1000W, which is more compact and fits better without stressing the AIO tubes. It features:
- 125 x 63.5 x 130 mm size that makes it a perfect fit for this SFF case without compromising on power delivery.
- 80 PLUS Gold Efficiency which helps reduce heat generation and energy costs.
- 120mm rifle bearing PWM fan that supports Zero RPM mode. The PSU operates silently under low to moderate loads.
GPU: Yet to be added
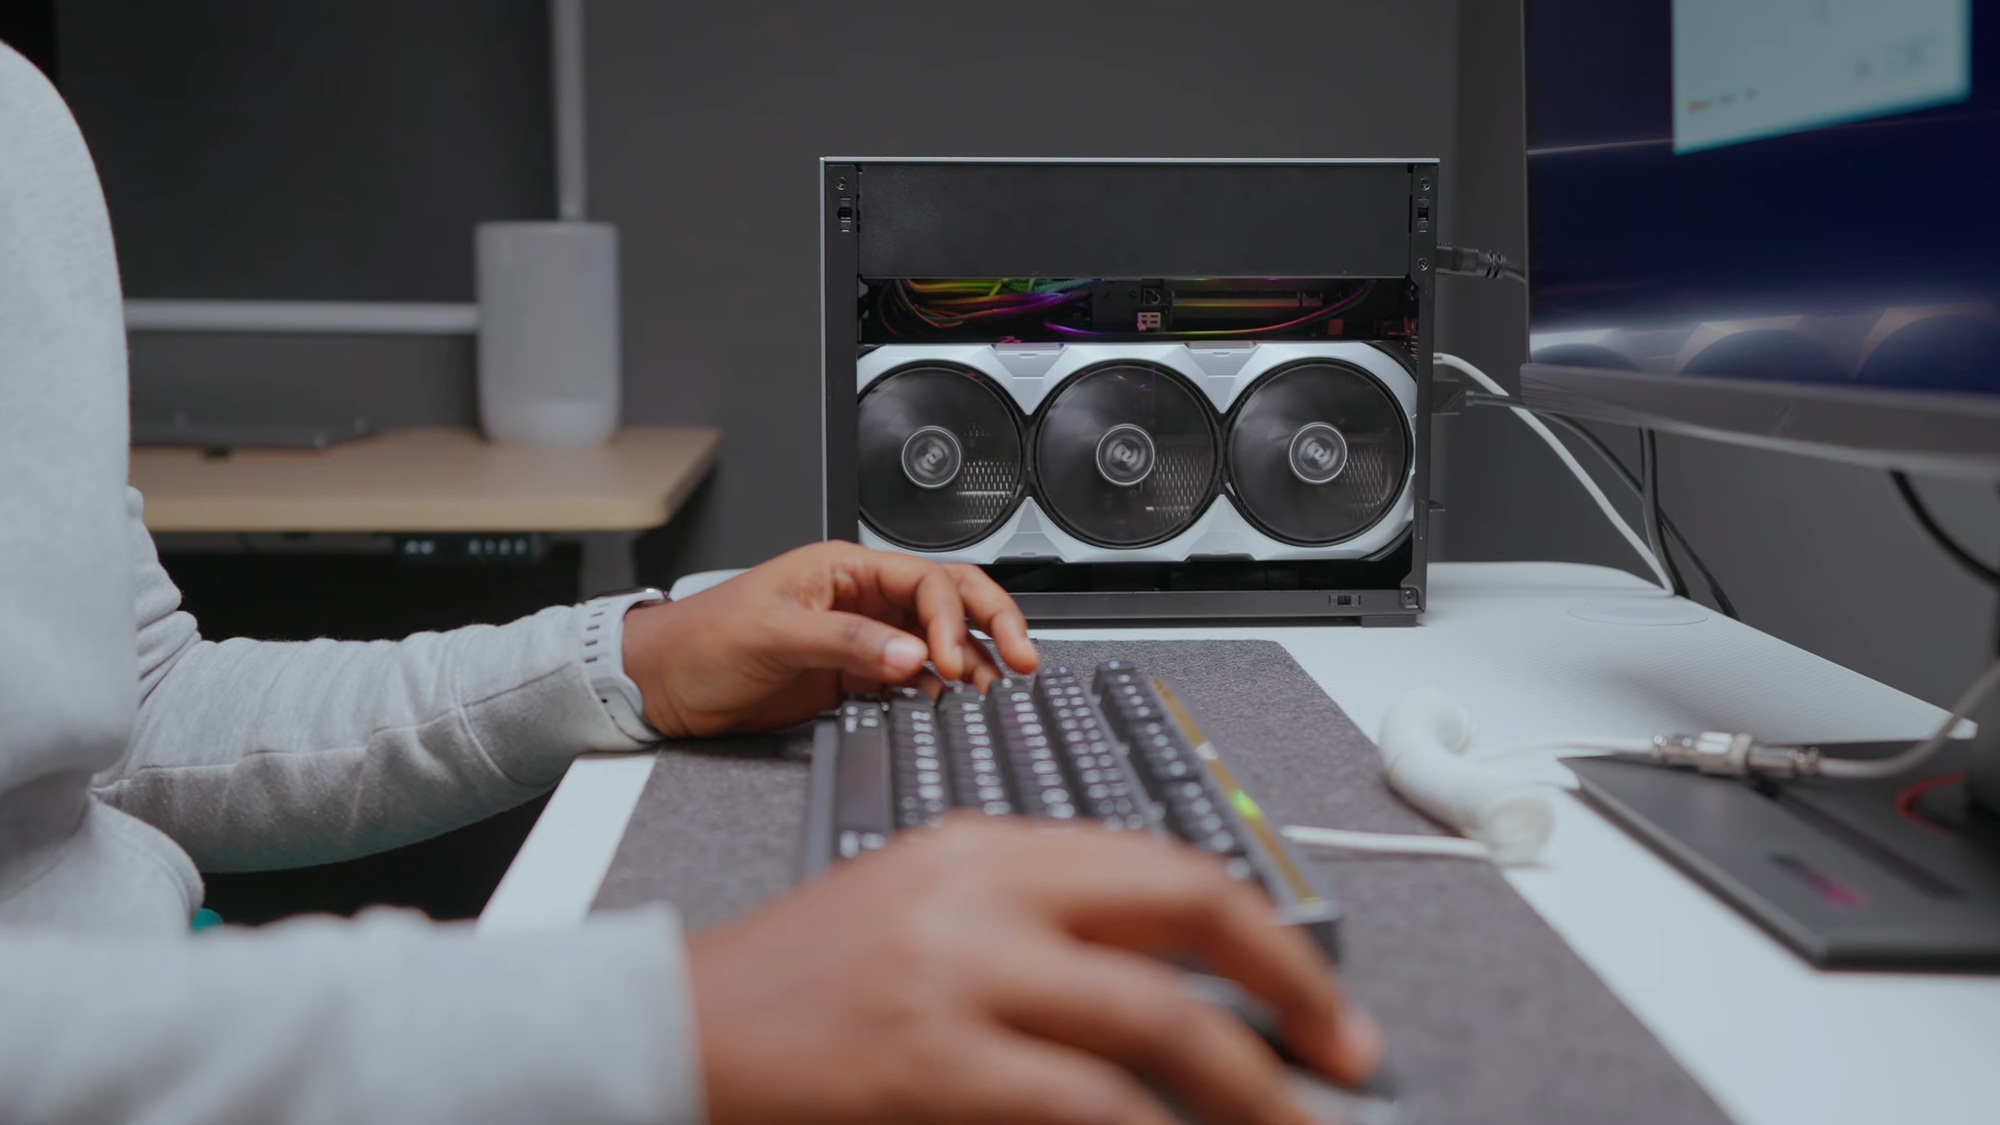
For now, I’m testing the system without a dedicated GPU, but the case supports a triple-slot GPU, meaning I can install something powerful like an RTX 4080 or 4090 in the future.
Links
- RTX 4080
- Intel i7 13700K
- Corsair SF1000
- Cooler Master 240mm Atmos
- Lian Li Dan A4H20 Case
- Asus ROG Strix Z690-i
- Kingston Fury DDR5 RAM
- Samsung 980 Pro 1TB NVMe SSD
How to Assemble This Build
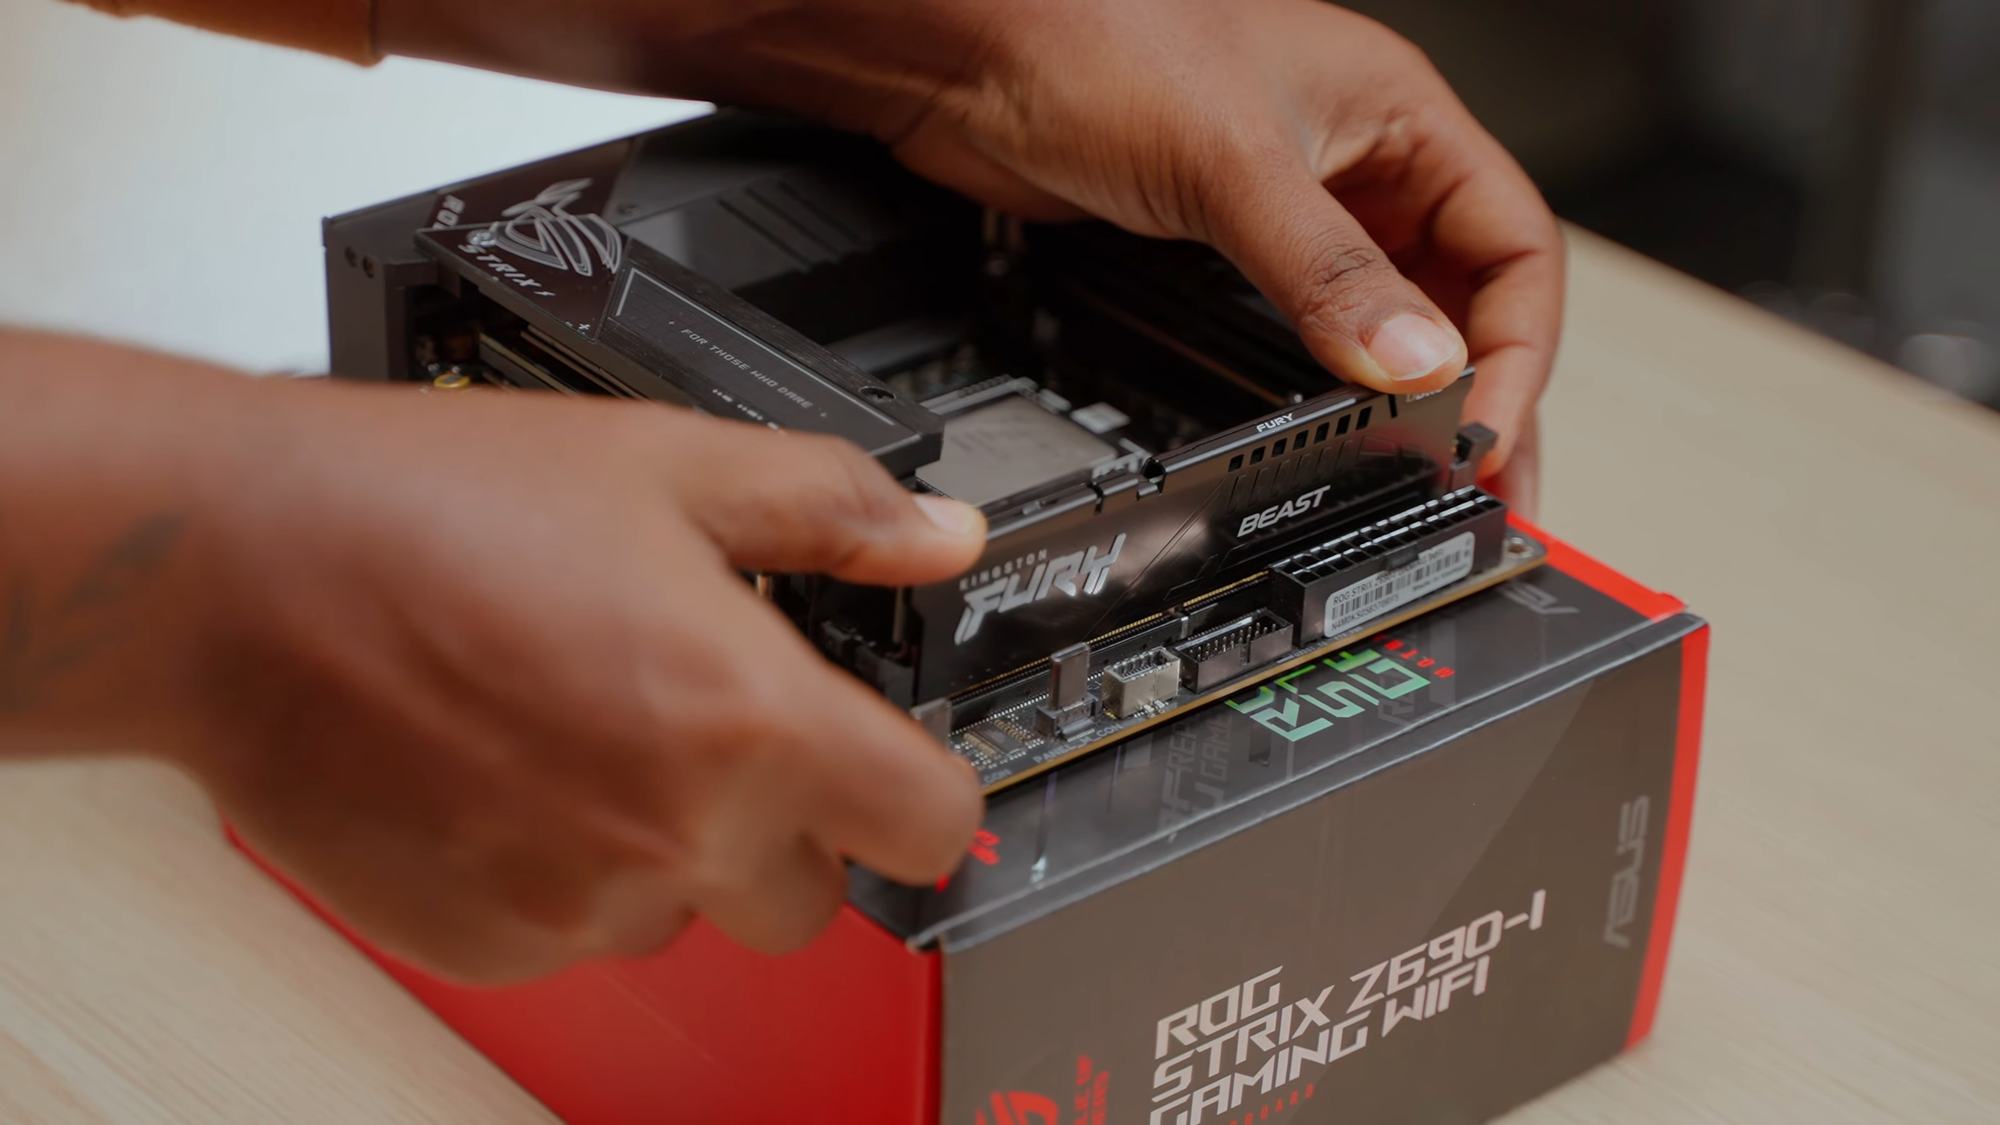
- Install the CPU, RAM, and SSD on the motherboard before placing it in the case.
- Mount the PSU first, ensuring that the cables are managed properly to avoid blocking airflow.
- Attach the AIO cooler to the top of the case, and route the tubes carefully so they don’t interfere with the PSU.
- Secure the motherboard into the case. Make sure all of the necessary power and data cables are properly connected.
- Install and connect fans keeping in mind that you have to optimize for airflow direction.
- Cable manage everything neatly to maximize space and keep the temperatures down.
- Test boot before fully assembling the panel
Performance & Testing
After assembly, I tested the PC with creative workloads:
Video Editing (Adobe Premiere Pro)

- Smooth scrubbing through 4K timelines without lag.
- Fast rendering speeds, even when applying AI-powered effects.
- Impressively quiet operation even under heavy workloads.
3D Rendering (Blender)
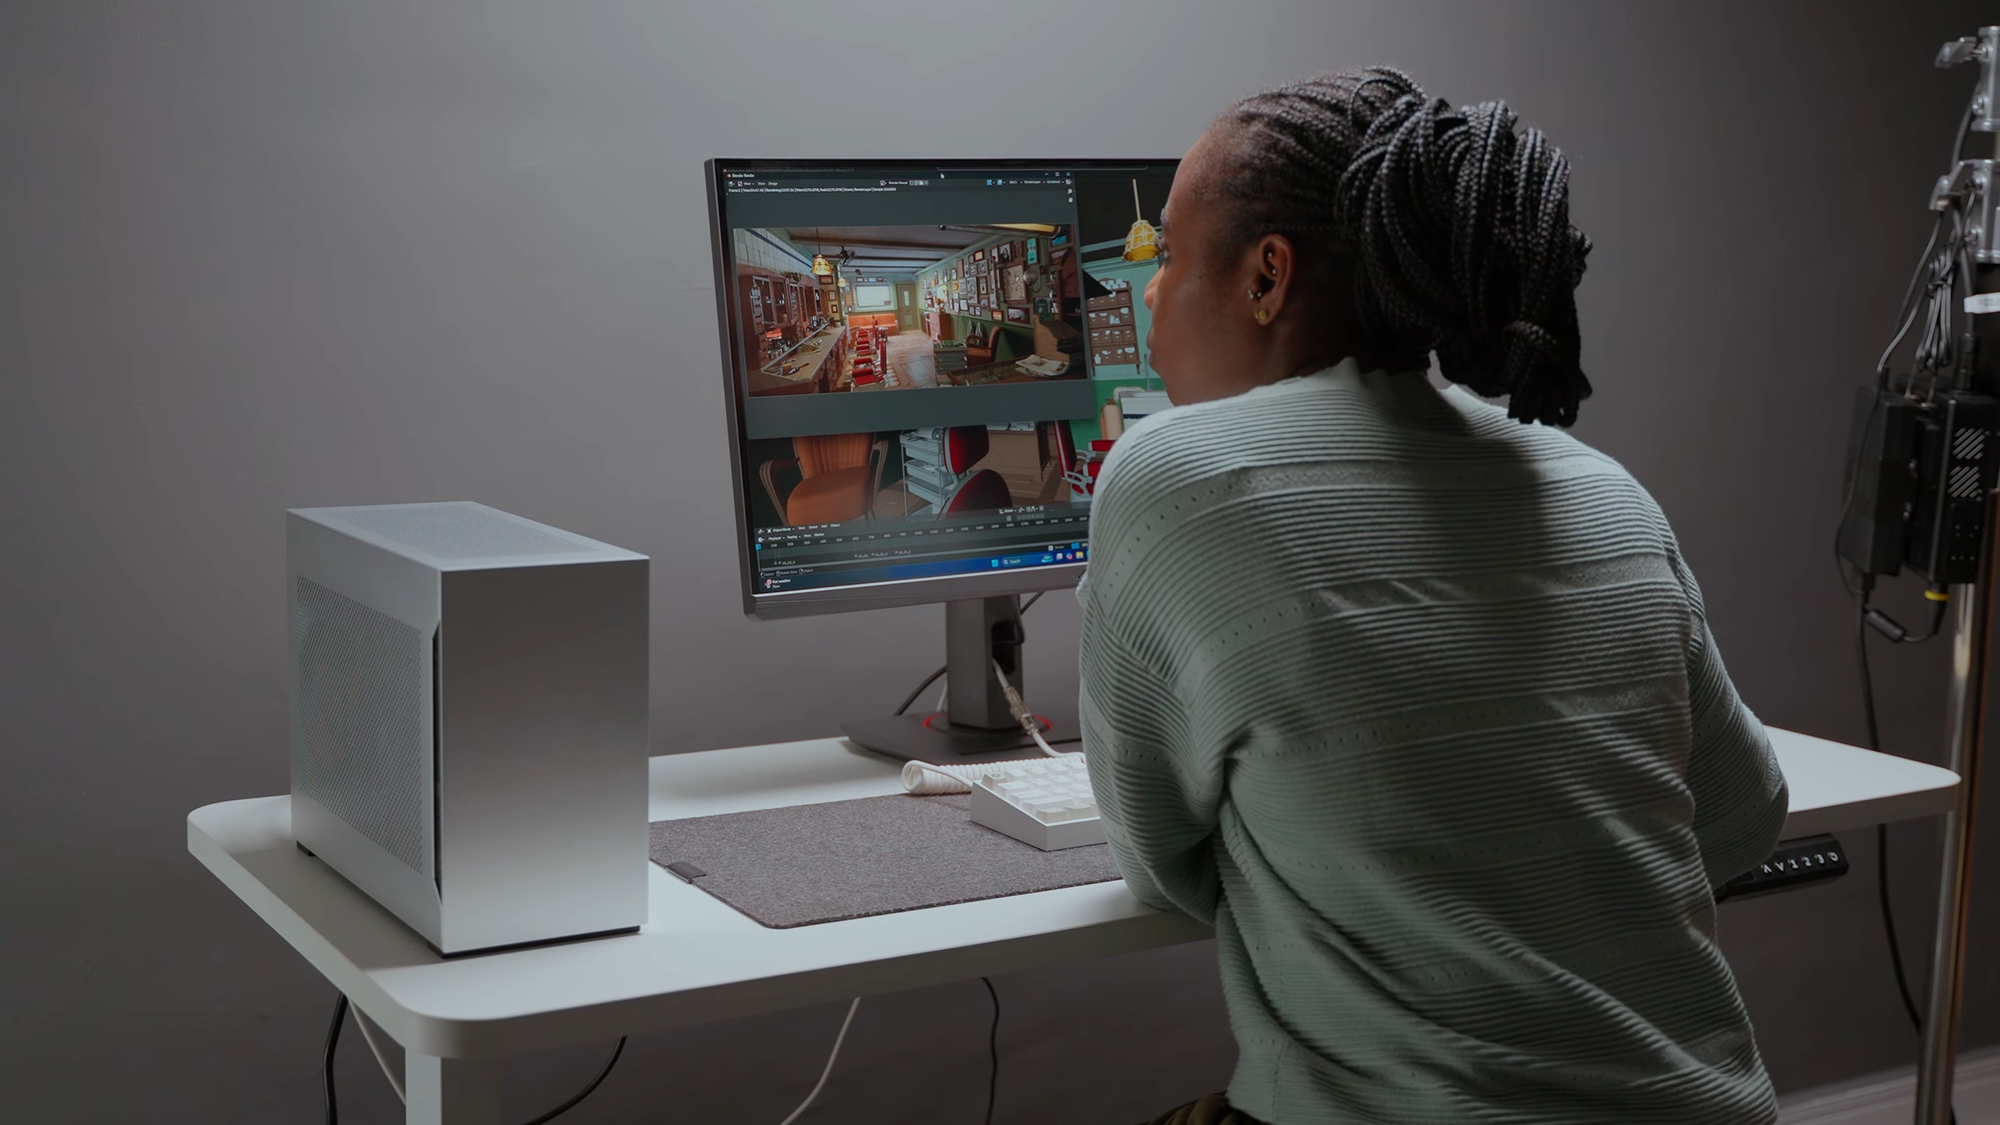
- The Intel i7-13700K performed well, but thermal performance will improve further once I install a discrete GPU
- The fast SSD and RAM helped reduce project load times significantly.
Gaming (4K tests)
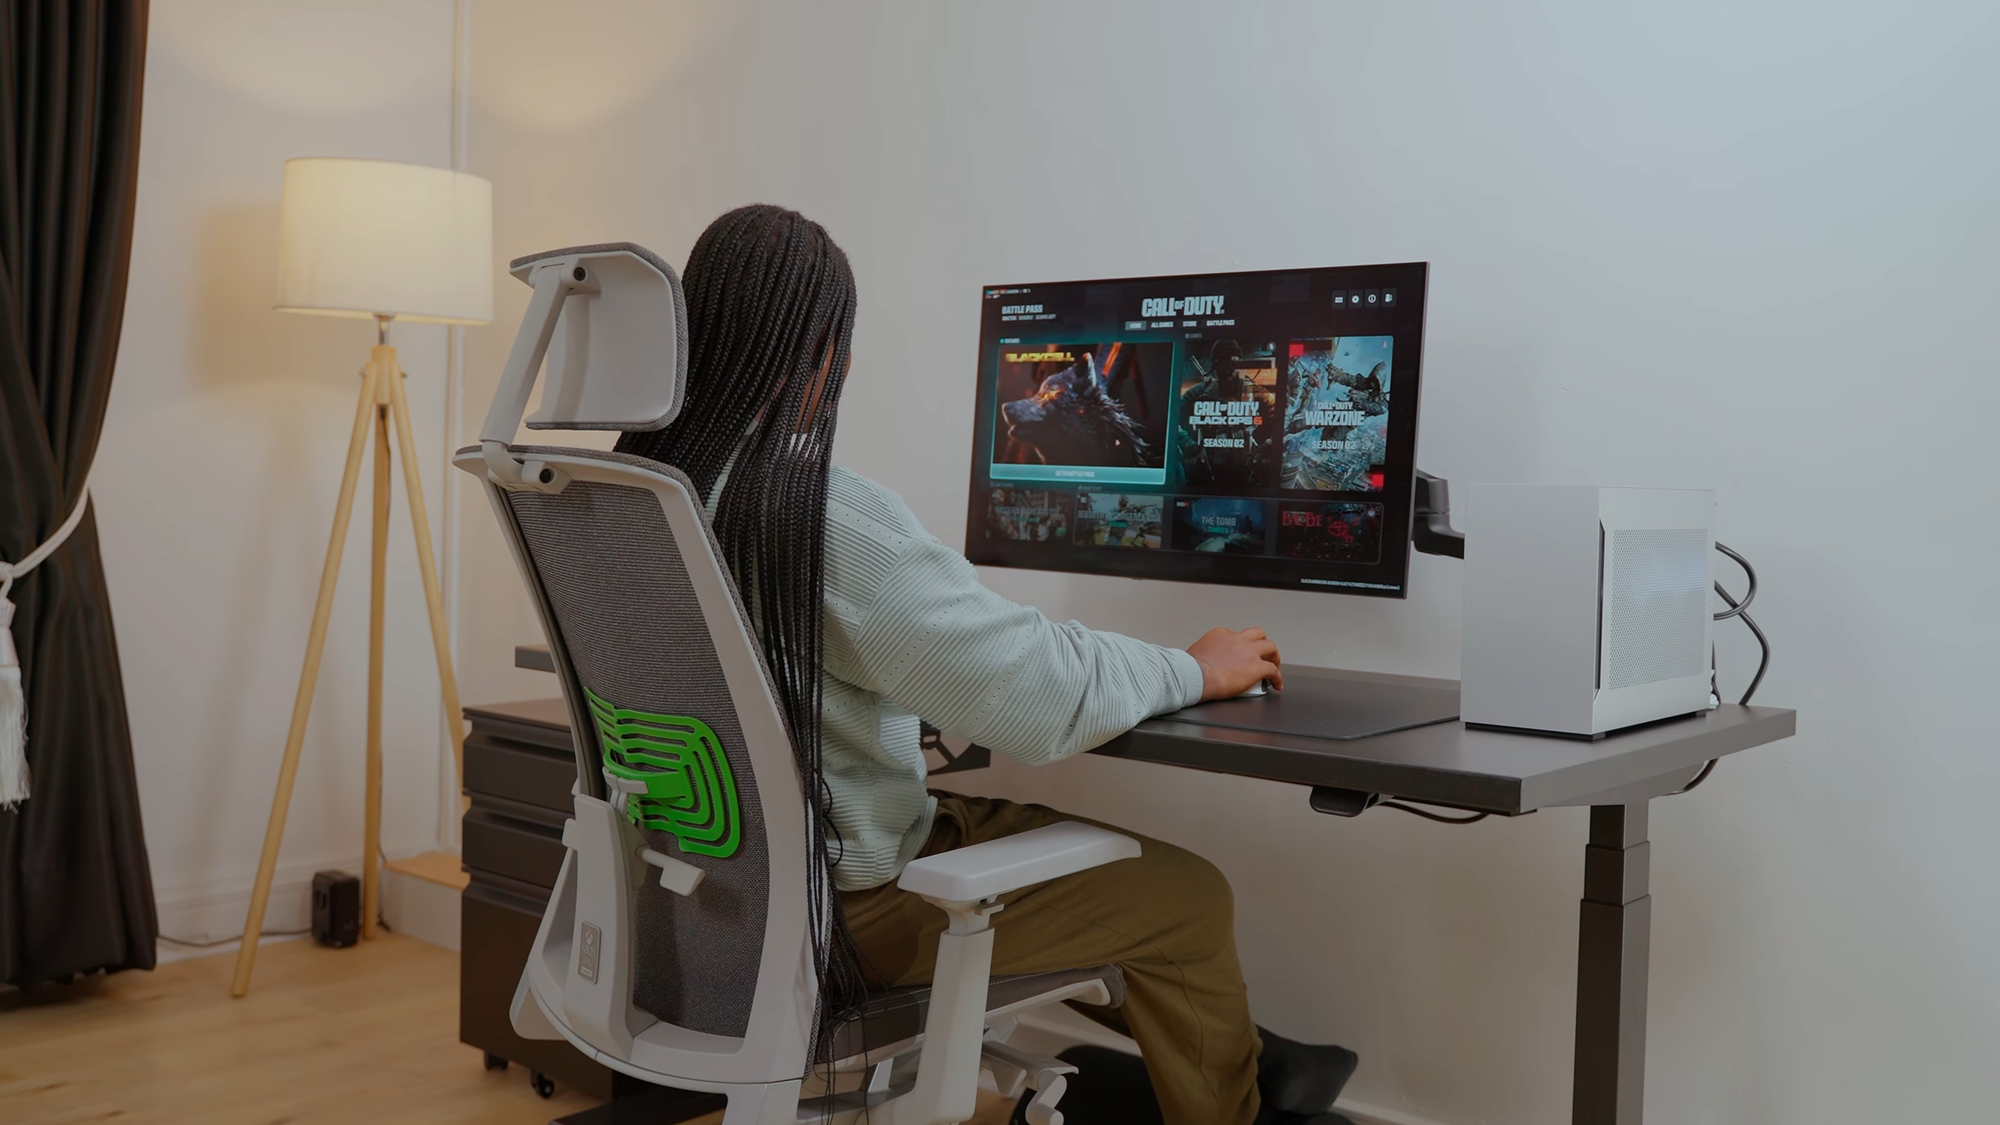
Since I haven’t installed a GPU yet, I tested some CPU-intensive games and was impressed with how well the 13700K handled 4K gameplay.
Conclusion
This SFF build is an absolute beast for creative professionals who need a powerful yet compact workstation. With its high-performance CPU, fast storage, and excellent cooling, it’s well-suited for intensive tasks like video editing, 3D modeling, and music production. The Dan A4-H2O case also ensures that everything stays aesthetic and compact without sacrificing performance.
Overall, this SFF build is a perfect blend of power, portability, and aesthetics. I highly recommend it for anyone looking to build a small but mighty PC for heavy creative work and gaming!


